Jennifer Sheahan: Tiling is an art, but here's how to do it yourself
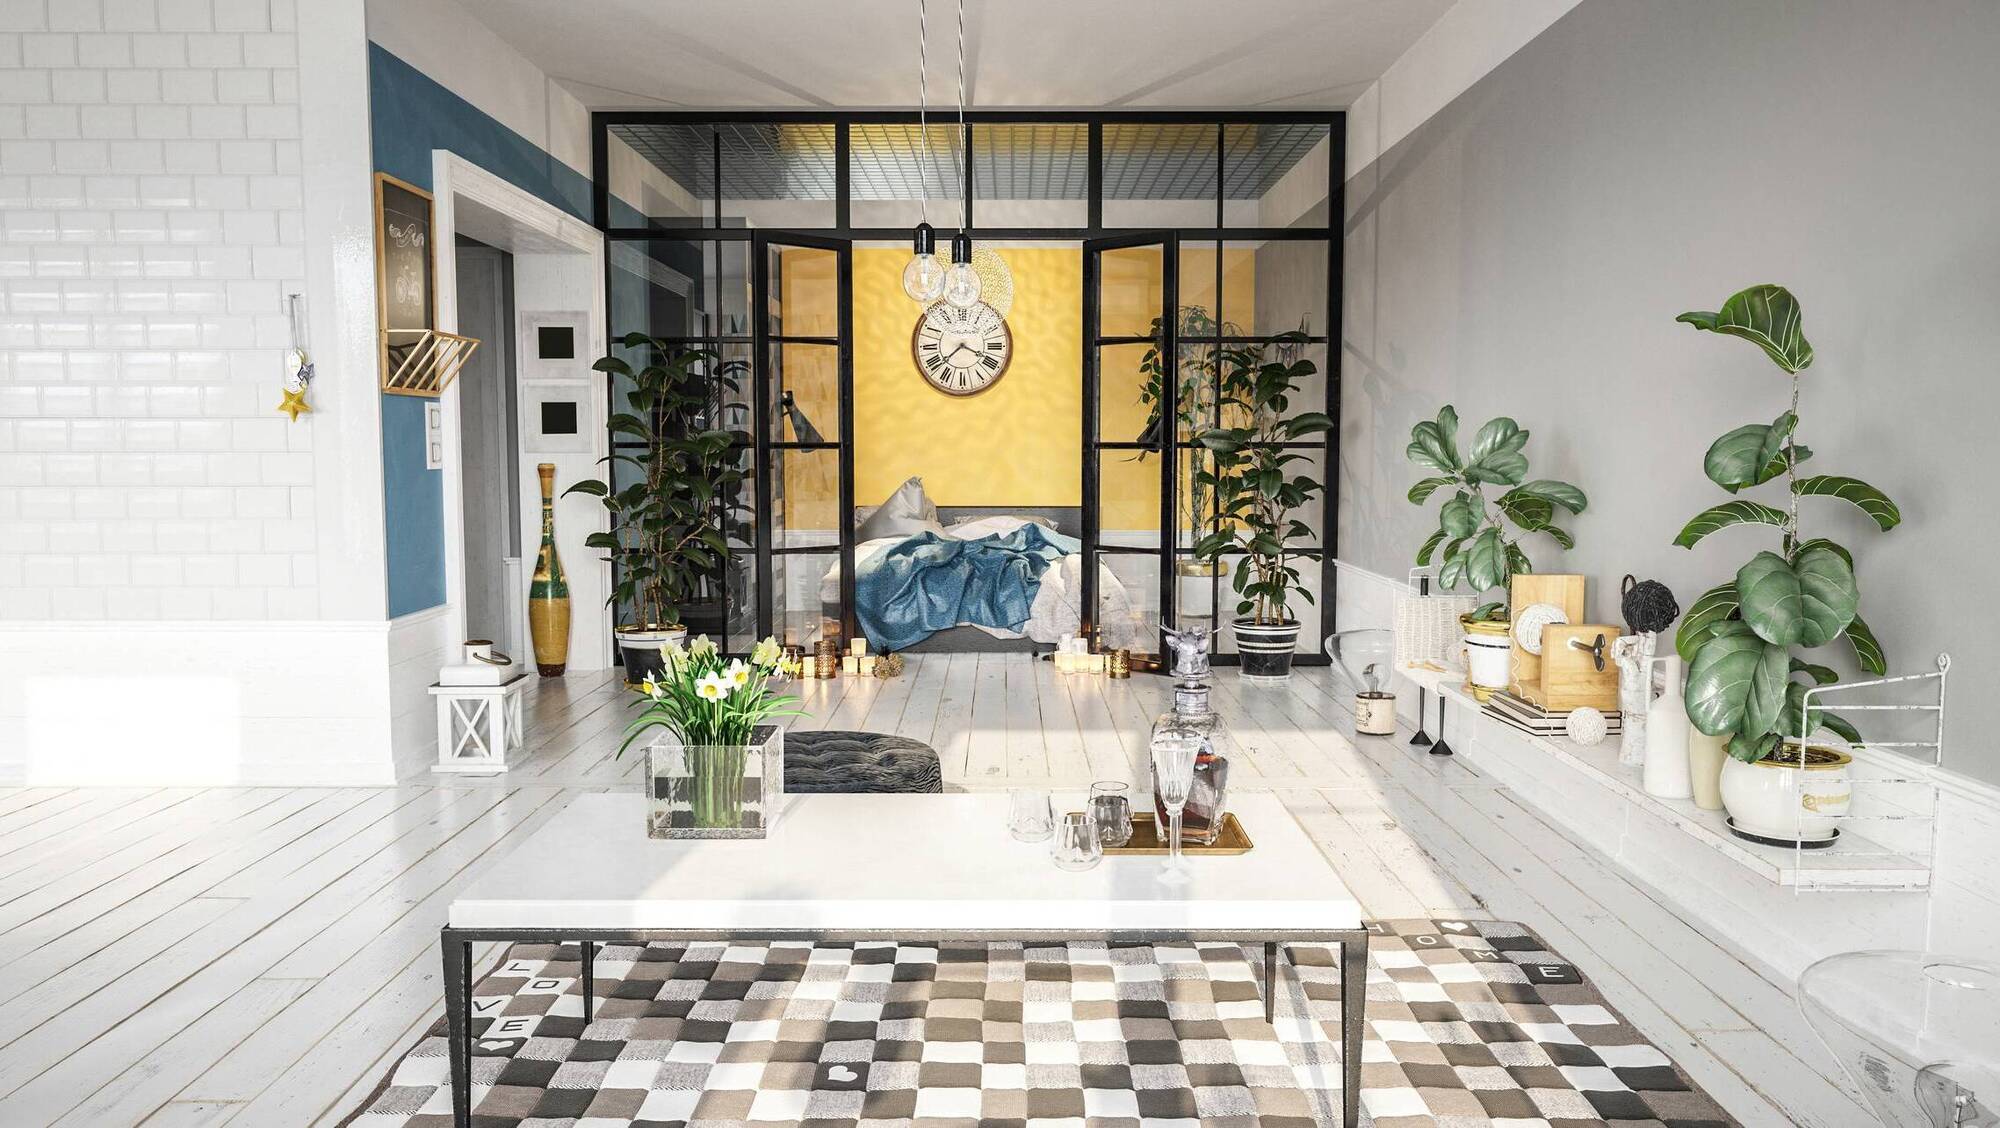
A professional tiler is still to be recommended, but’s definitely within reach to do it yourself too when necessary, says Jennifer Sheahan. File picture
I have laid tiles before, haphazardly and without the right tools, in an apartment back in my student days. I cut my hand, they were not level, and I ruined quite a few tiles on a cheap tile cutter — but the job got done, to mediocre standards. I’m older and wiser now and refining my skills by taking an evening DIY class.
This week was tiling, and there was a lot to learn to get my tiling standards up to par. I still think it’s worth hiring a tiler, because experience certainly helps, especially with anything outside standard-format tiles or for clean mitred edges. But if that’s not an option for you, it’s definitely within reach to do it yourself.
There’s quite a lot to tiling, and I want to give it the attention it deserves, so this will be a two-part column. We’ll go as far as putting the tiles in place today, and next week we will cover trimming and grouting. Here’s what I’ve learned.
If I were to pick one key takeaway from everything I have learned about DIY, it’s that preparation is key. In the context of tiling, the preparation involves buying the tiles themselves, your preferred tile trim, gathering the right equipment together, and a little bit of maths.
The equipment in question comprises a bucket, tile adhesive, an adhesive trowel, a filling knife, a measuring tape, a level, spacers, a tile cutter, grout, a grout float, and a sponge or cloth. I’ll skip past choosing tiles, which is a whole column in itself.
When it comes to adhesive you can buy ready-mix, and your house won’t fall down if you do, but powder adhesive is generally better quality and is cheaper. When you go to purchase, you’ll be faced with the option to choose flexible or non-flexible.
If in doubt, go flexible — if there's any movement in the substrate — for example, timber floors or surfaces that span two different materials — you need a flexible adhesive, as rigid adhesive on a moving surface will crack. For wet areas like showers and around baths, always use a waterproof adhesive.
There will also be an option to buy quick-drying adhesive. Standard adhesive typically needs 24 hours before you can grout; quick-drying varieties can be grouted in as little as three to four hours.
The downside is that you have less working time — more pressure to get tiles placed correctly before the adhesive sets. I'd lean towards standard unless time is a critical factor.
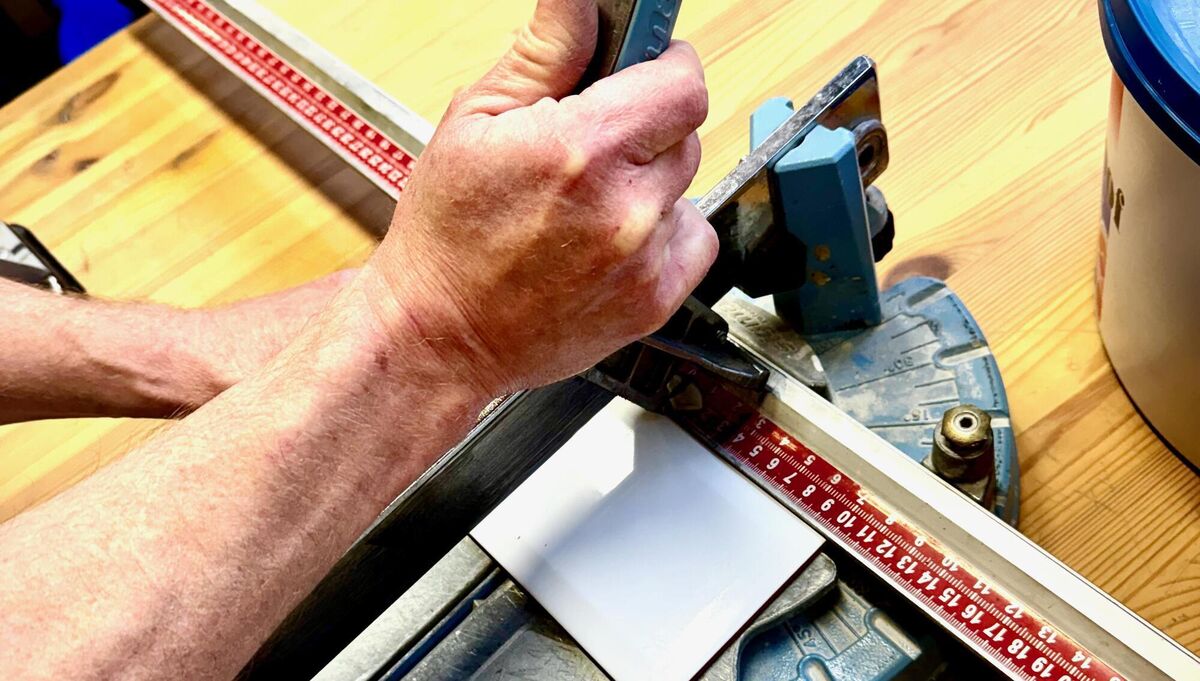
If you’re cutting anything more than a handful of thin, ceramic tiles, it’s worth it to rent a professional tile cutter.
A good one will run you €25-50 per day from somewhere like HSS Hire or Chadwicks. The cheap ones will break your heart and end up collecting dust anyway.
Next up you will need an adhesive trowel — this will have a handle on the back, two straight edges, and two combed edges. You will also need a filling knife or a putty knife, and a bucket to mix the adhesive in.
You can purchase grouting equipment (a float or a squeegee) for very little cost at any DIY shop — more on that next week.
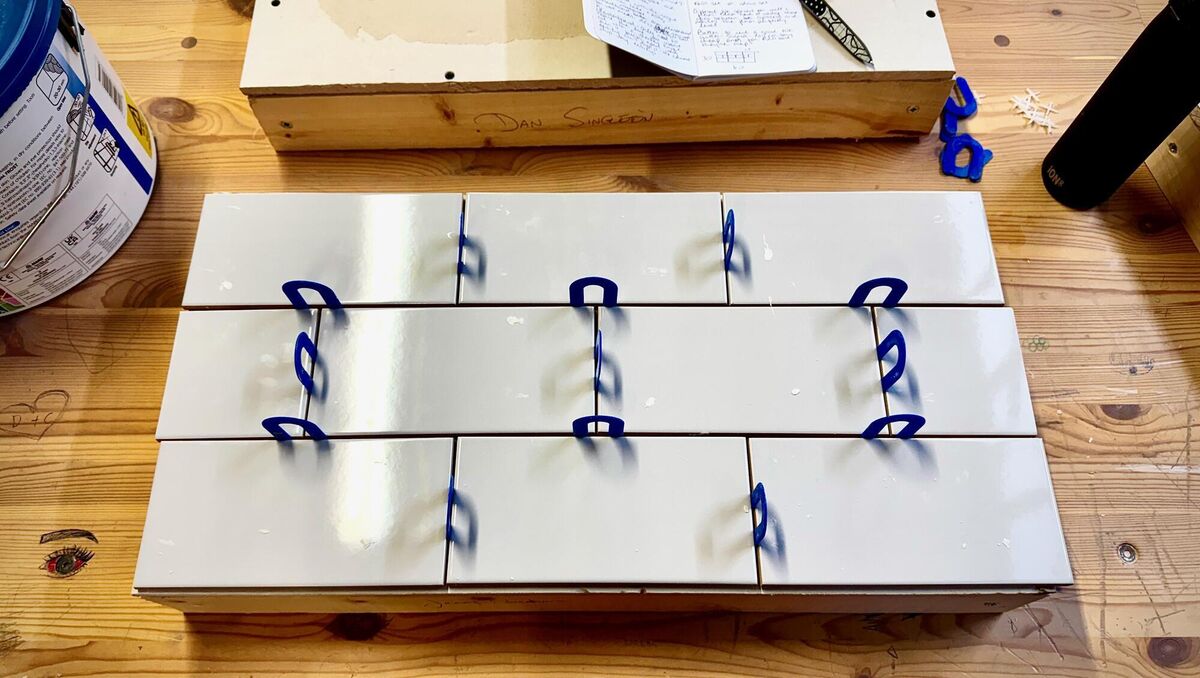
Tile spacers are available in a range of sizes. It’s up to you to decide how much space you want between each tile. There are tiny x-shaped spacers which are super cheap but can be a little fiddly to remove. There are larger U-shaped spacers that are a little more expensive but are much easier to remove.
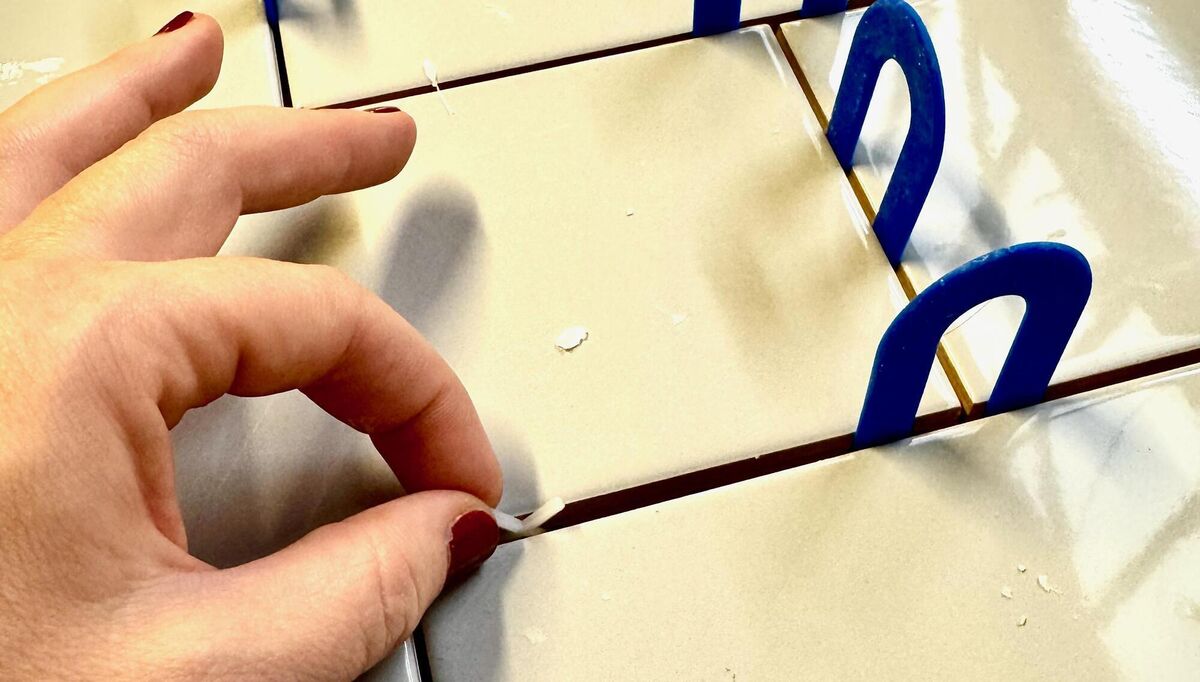
There are also special floor spacers which come with a very handy little levelling device, which is worth the few extra euros to ensure an even floor.
Finally, you will need a measuring tape and a level to ensure the right number of tiles are going on in a straight line. A laser level will make your life easier, but a regular spirit level will do fine.
Once your equipment is assembled, your next job is to break out the calculator. You need to measure the width and length of the area to be tiled, then you need to calculate how many tiles you will need to fill that area.
Do not forget to incorporate the space between the tiles in your calculations — it may only be two millimetres, but over a large space that could add up. Purchase 10% more tiles than you need — you are likely to break some!
Lay out a dry run of tiles from the centre outward — without any adhesive — to see exactly where your cuts will fall (if you’re tiling a wall, measure a space on the floor to match). The goal is to end up with balanced, symmetrical cuts on either side, rather than an awkwardly narrow sliver of tile down one edge.
To find your starting point, measure the width of the wall or floor and find the centre. Adjust left or right until you have an even layout on both sides. Account for any slopes or alcoves that need to be tiled. This takes patience, but it will make all the difference. Once you know the pattern and the number of tiles, you will know how many tiles need to be cut (if any).
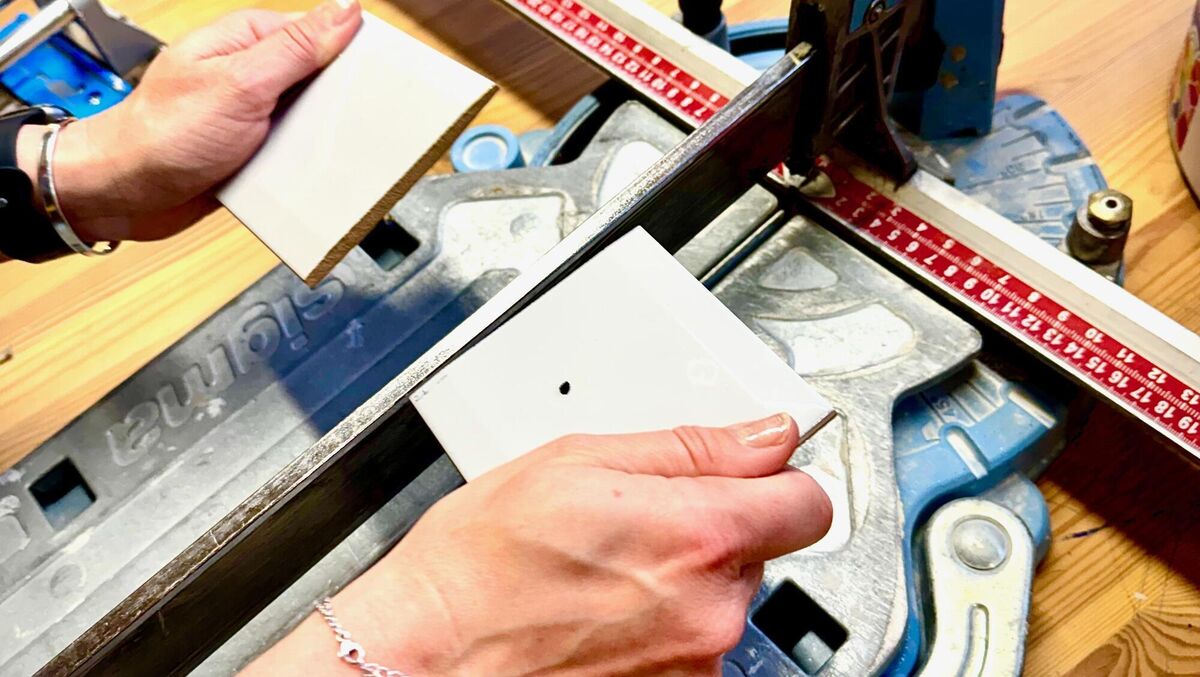
Cutting a standard tile is straightforward — you push the tile cutter along the surface to create what looks like a minor scratch, then you knock the underneath of the tile against a solid edge (the rod of the tile cutter is perfect) and it comes apart much more easily than you would think.
Be careful not to cut your hands against the sharp edges! If using a tile trim, cut your trim to the required length.
Mixing adhesive yourself sounds like an added faff but it really isn't. You add the powder to water (not the other way around), mix it to a peanut-butter consistency (you should be able to hold it upside down over your head), and you're ready.
Most bags will give you a working time of around 30 to 45 minutes before the mix starts to go off, so only mix what you can use in that time. Don't be tempted to add more water to loosen it up if it starts to stiffen — at that point, it's done.
Spread some adhesive on your trowel with your filling knife, and spread it across your surface with the straight edge. This takes a little practice! Work in manageable sections — don't spread adhesive across more surface than you can tile in ten minutes.
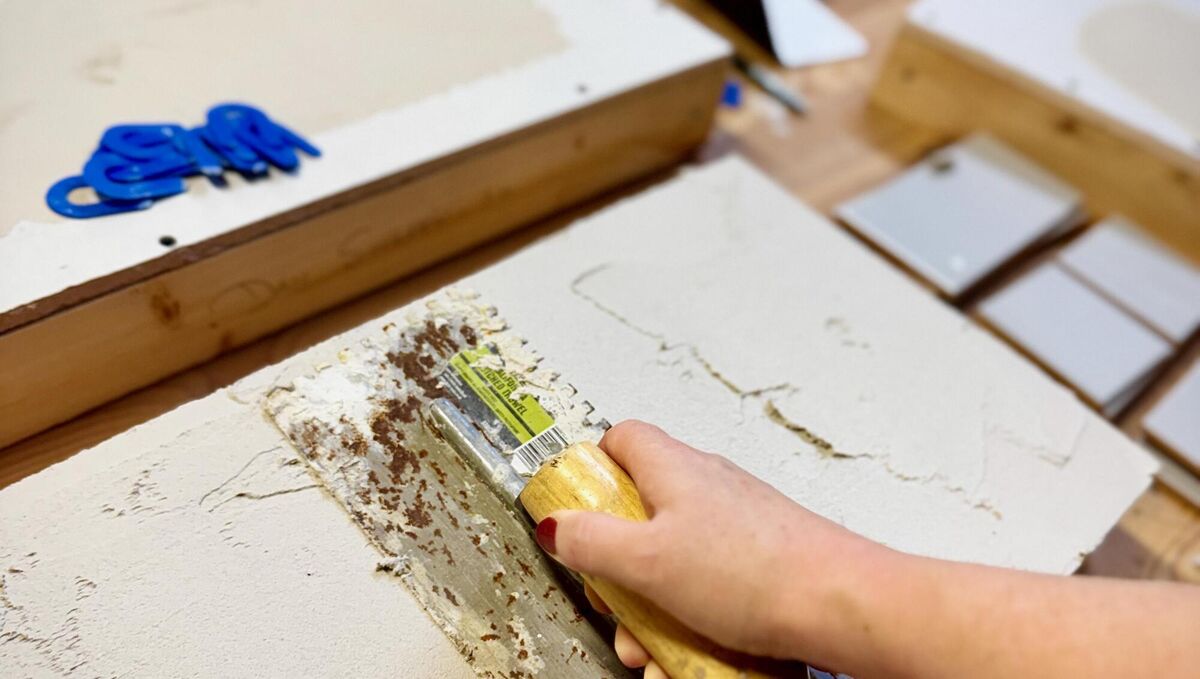
Once it is spread relatively smoothly, switch to the combed side of the trowel.
The notches on this side ensure you are spreading the adhesive at a consistent level, and the resulting ridges in the adhesive collapse when you press a tile into them, giving a more even coverage on the back of the tile.
Set your laser level to project a horizontal line at the height of your first full row of tiles and work up from there. Start applying tiles at your centre point, putting spacers in between and checking they are level against the line (or using a spirit level regularly).
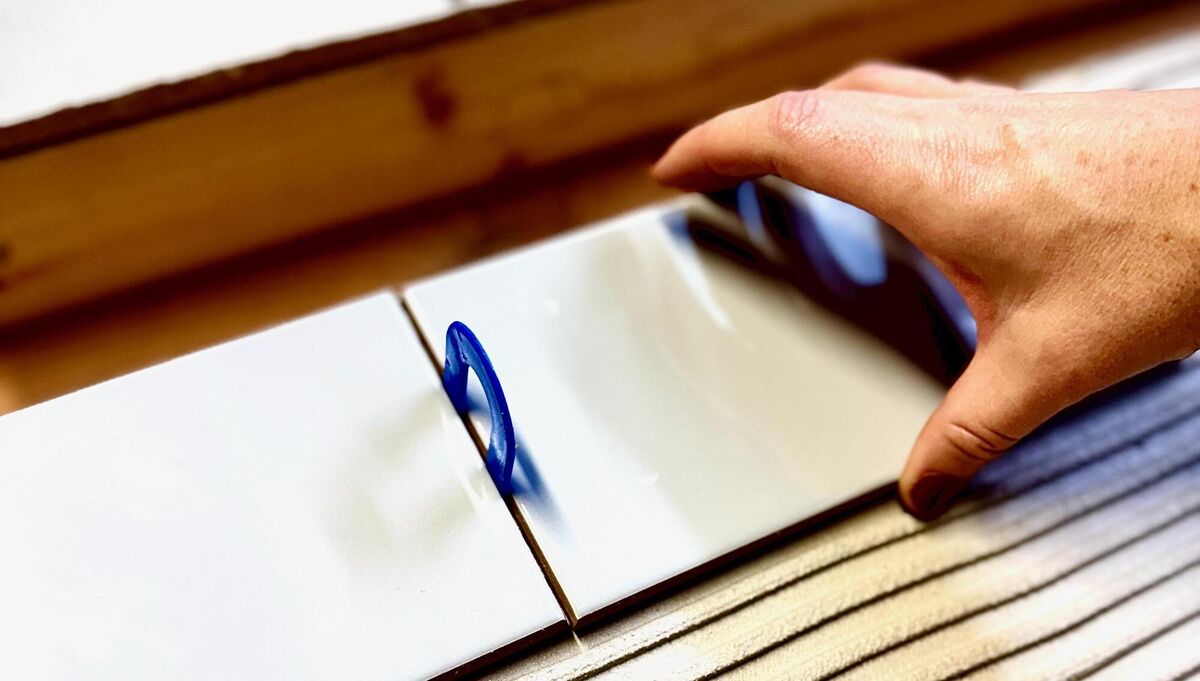
Push down firmly on each tile to ensure adhesive coverage, and check that each is level and in line with its neighbours. You really only have a few minutes to adjust each tile before the adhesive starts setting, so do this carefully as you go.
If you are using a tile trim, press the trim into the adhesive and make sure the adhesive is pushing up through the holes. Use your level to make sure it’s straight.
Spread a little extra adhesive on the back of the tiles that will be going along the trim, and then press them into place.
Use a spacer if you’re tiling in a wet area, so that you can apply waterproof grout or silicone around the trim edge.
After around 20-30 minutes or so, remove the tile spacers and allow the adhesive to dry full over 24 hours.
Come back next week and we will cover how to choose and apply grout, including how to re-grout your existing tiles.
CONNECT WITH US TODAY



Be the first to know the latest news and updates