Kitchens: Your guide to super splashbacks for 2027
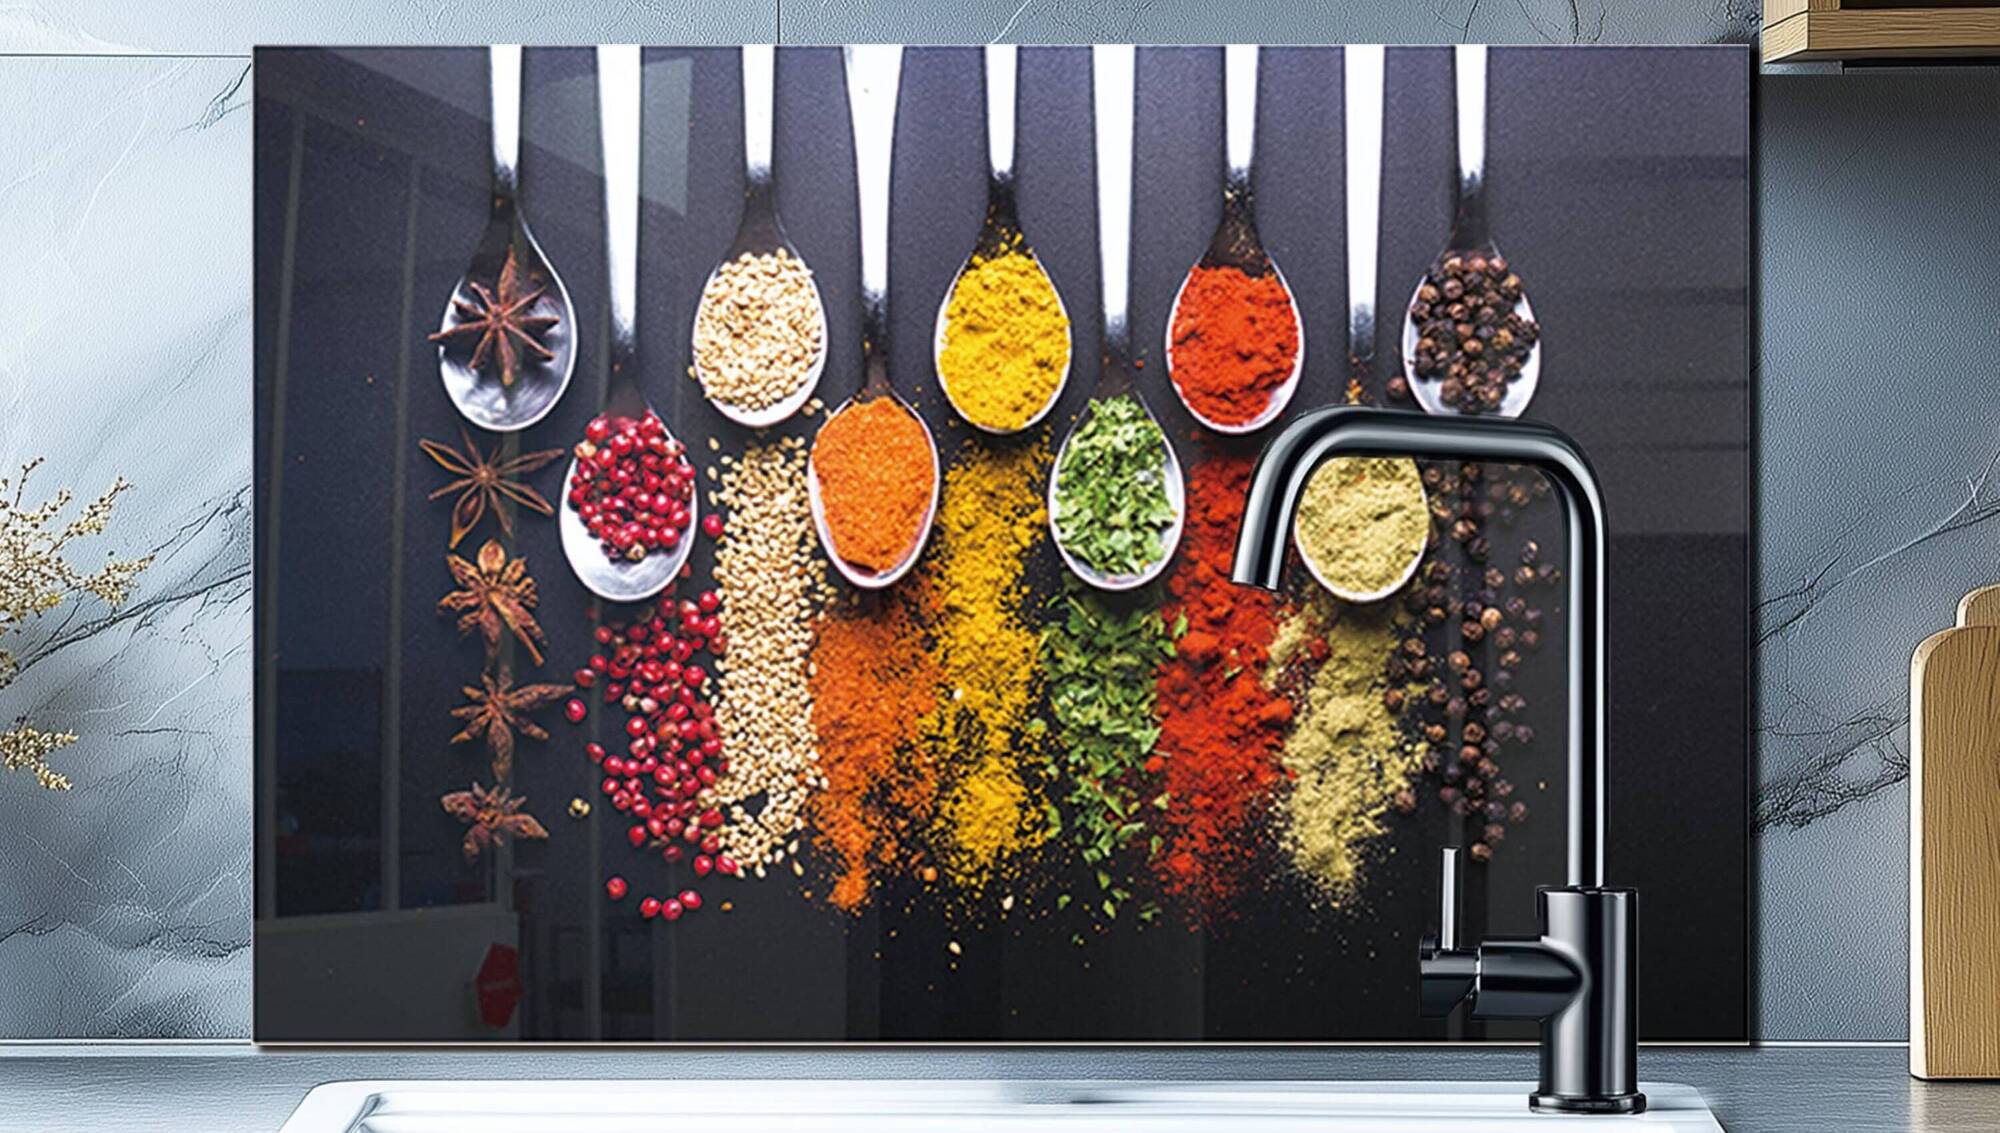
Daifuronge Spice 4mm tempered glass splashback utilising water-based ink printing and glass bonding technology, DIY install with double-sided tape, €417.60, Amazon.ie.
Colourful, quirky and sumptuously beautiful — character kitchen splashbacks and upstands are trending. In multiple formats, materials, textures, patterns, and styles, the splashback should be as carefully chosen as your countertop. Think about how present they are. Splashbacks and upstands are more immediately visible than the worktop, especially in a smaller kitchen.
Go for a glorious slab of stone, composite or large-format porcelain tile. In a budget flip, you could opt for glass or resin panels that install on metallic pads directly over tile.
Because we’re working on an area right over the counter, it’s up to you how much you want to reference the worktop material. We can run one material over the counter up the wall to the underside of cabinetry or right to the ceiling, or stop at a 100mm to 150mm upstand. Introduce a softly complementary or boldly contrasting companion — the available choice is artful and exhilarating.
Splashbacks are necessary in your kitchen to prevent splashes of foodstuffs and the daily assault of heat and steam and small physical impacts that would (over time) ruin a painted wall. Despite the advance of scrub-clean emulsion, the constant cleaning required in this hardworking area is often too much to guarantee the wall’s pristine survival without some sort of additional cladding. You don’t have to have a splashback; it’s not dictated by any code, and could pare wall protection back to a shallow upstand.
Still, behind a wall-set cooker, omitting a protective barrier would be a bold move. If you stick with an upstand and bare painted walls above, be guided by architectural details like the area running under windowsills and keep the upstand high enough to protect any painted wall above it. 130mm to 150mm would be about right in most instances.
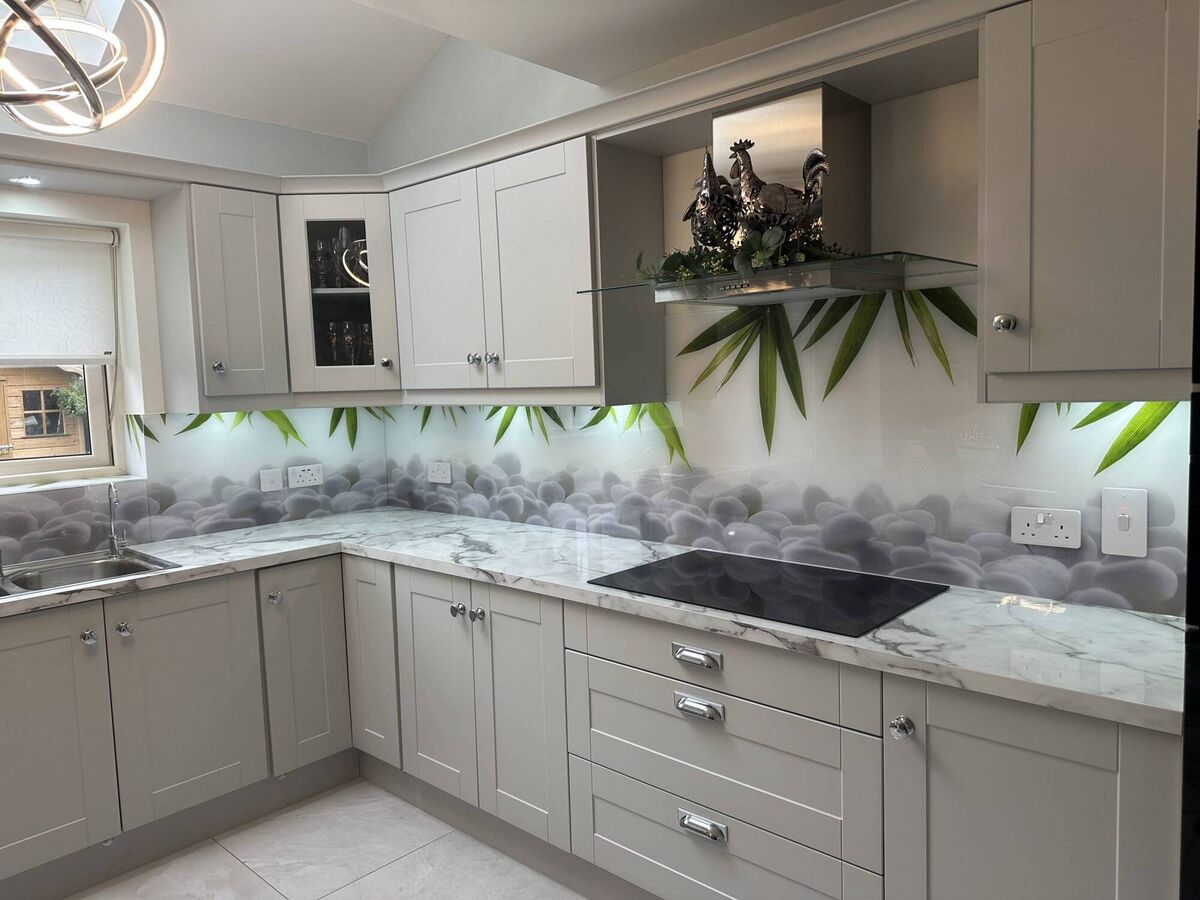
You’ll still need a protective, appropriate higher panel behind any wall-standing cooker.
Taking your worktop material up the wall creates a calming, sophisticated finish to the kitchen without any visual stutter between two vastly different materials. This approach is becoming extremely popular with investment counter choices including marble, porcelain slab (ceramic) and quartz-based composites.
Together with the aesthetic flash and continuity, marrying the counter and wall in one material brings the robust qualities of that counter to the wall. It also removes the irritating, dirt-catching annoyance of lines of grout demanded of a typical tile splashback or an upstand.
The big question here is how high do you want to take the panels? We can pull up under a deep shelf, under a wall cabinet, or go high, 1200mm or more. This type of splashback can be installed DIY, but it has crucial mechanical and measurement demands to ensure heavy, brittle panels are secure, stable and level, with pleasing, all but invisible joints. Leave expensive materials to a professional. Matching the counter to the wall panels — ensure we leave a gap of at least 2mm for a bead of sealant.
Read More
We all lost our minds over gentle industrial styling a few years ago, and the kitchen provided a perfect stage for some commercial touches. Working professional kitchens generally include stainless steel splashbacks as they are easy to clean and reflect light to the hob.
Polished metal and mirror plate will open the walls, reflecting not only the guests behind you in an open-plan area, but the work you’re doing on the counter or hob — something that many chefs welcome when progressing through meal preparation alone or in company.
In our homes, we can use metals, mirrors, and reflective tiles recalling metallic surfacing to create the same look. Using metal panels removes more seams and grout lines, and given an oxidised/patinated finish or an implied one, this can be very striking.
The metal sheeting can be matched to the fronts of your cabinetry if you’re truly committed to the look. If you put up a raw sheet of brass, the air and moisture will do the work for you; otherwise, polish it up and seal it before installation. Heat-resistant mirror splashbacks are trending, but anything in glass is a risk. Only use toughened glass directly on the wall. Magnetic splashbacks in ferric steel are another option, allowing you to stick up magnetic shelves, clocks, utensils and more directly to the panel. Colour options can be limited. Try kalamitica.com.
Offering an infinite array of patterns, colours, texture and storytelling, tiles remain a firm favourite for a splashback and are extremely popular for upgrading a kitchen used alone or with new cabinetry. Consider a lead-in from our cabinet/counter colour or a bold contrast.
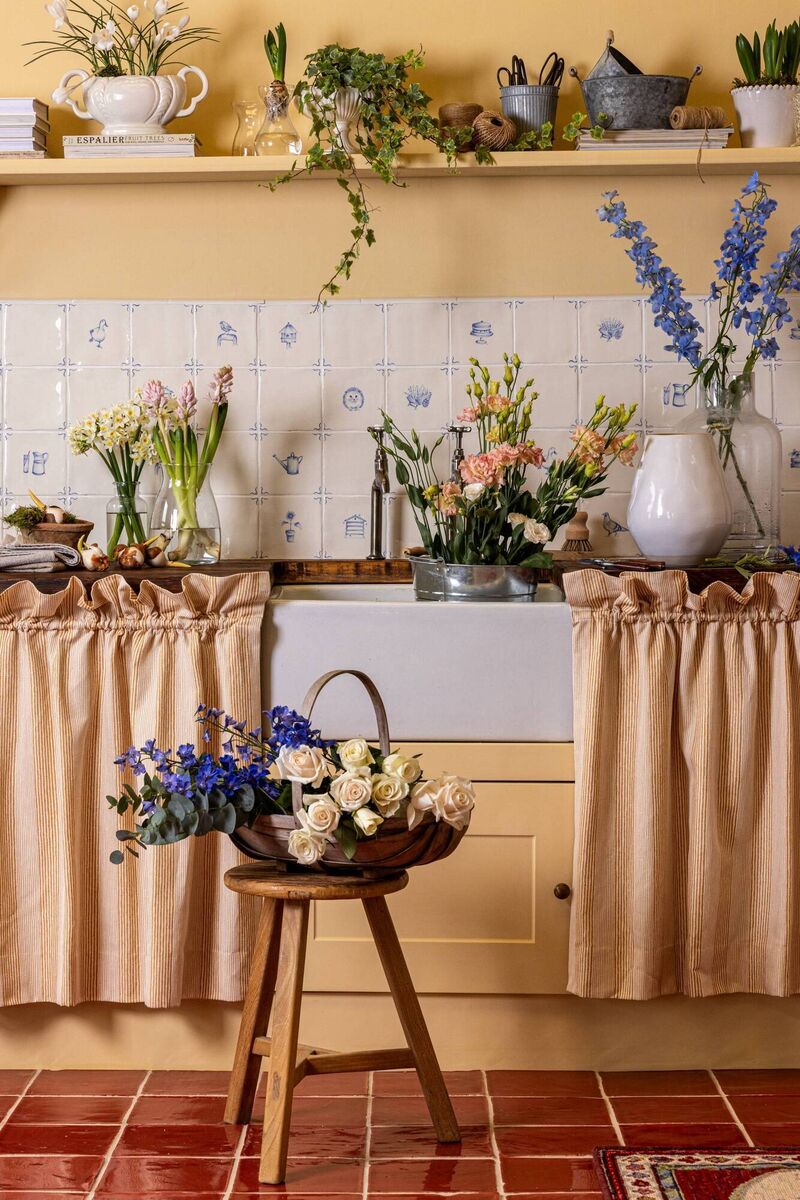
If you’re ready to try out your burgeoning tiling skills, the area directly over your upstand (rather than the upstand itself) is a good place to start. It’s generally a good idea to flip the counter up the wall in an upstand of 100mm to 150mm in a neat, traditional finish where the counter meets the wall. T
his takes the grout up and away from the area it’s most likely to get dirty, damaged and mouldy. Upstands can be created with natural, composite or synthetic laminate counters, and they are best handled by a seasoned installer who understands the challenges of making that tricky corner with walls that may be out of true.
Finishing the tiling DIY over the upstand is a handy money-saver in a smaller kitchen. If you’re likely to have to make a lot of cuts to finish the job, ceramic tile is easier to score and cut than porcelain, but porcelain is tougher and less porous.
Avoid more challenging patterns like herringbone the first time out. Using brick slips, specify a higher upstand of 130mm to 150mm to protect the brick, which can chip with impact, and seal the brick with a transparent sealant, as it is a porous material and something of a dirt grabber.
Printed onto toughened glass, you can have really any photograph or image you want in high resolution serving as a splashback. The latest UV-resistant technology ensures that most colours, bar high-neon colours, won’t fade even in direct light. 6mm toughened glass is heat-safe (operationally for an extended period) to 300C — 400C, so it can safely sit by the stovetop.
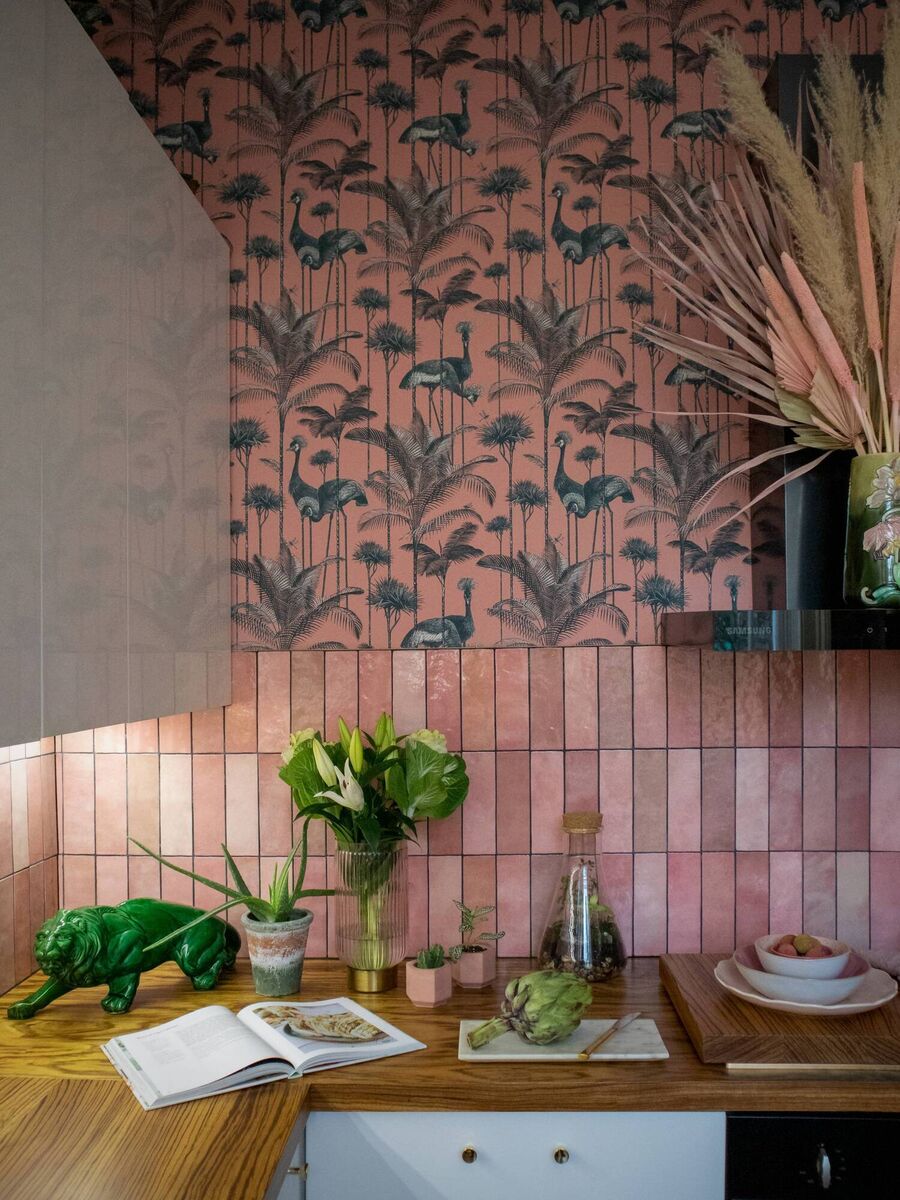
Firms including 3Dsplashbacks.ie, offer licensed images from Shutterstock, or you can source images yourself on free image platforms including Unsplash and Pexels to have printed to your custom splashback, sized by the splashback supplier to your needs. Keep in mind that a wild image with saturated colours at scale could be a decorative bully, overpowering a smaller kitchen.
Take your time selecting both the picture and its proportion and balance against other colours and features. Obviously, work with an aspect ratio (portrait or landscape) that broadly agrees with the space. For a bigger spend, the image can be back-lit with colour-changing, dimmable LEDs for a highly atmospheric and versatile ambient light feature.
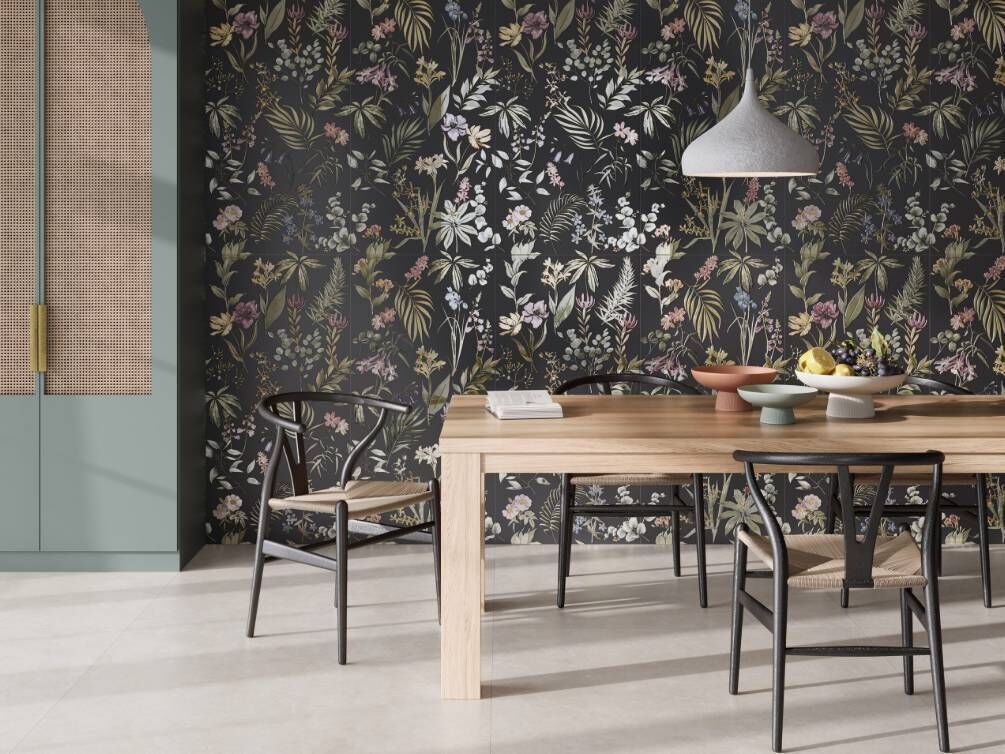
If you are determined to use a wallpaper as a splashback, choose a water-resistant paper, and protect it under either 6mm toughened glass held in place with mirror screws and tube-sealant.
Alternatively, you can seal non-vinyl wallpaper directly under multiple coats of clear varnish. Pay great attention to all edges where moisture can creep in, and good luck getting that down without destroying the plaster or plasterboard!

BLACK FRIDAY
Already a subscriber? Sign in

CONNECT WITH US TODAY



Be the first to know the latest news and updates