Michelle Darmody: How to make non-toxic playdough and finger paints from kitchen ingredients

Some wonderful finger paints can be made with kitchen bits and bobs!
Today's recipes are not necessarily edible, but they are made with quite simple baking ingredients. Food colouring and cream of tartar are the only things out of the ordinary.
Homemade paints, playdough and also modelling dough can keep little ones entertained for hours. It is best to keep the play dough airtight between uses. If you do it will last well for about two weeks or more. The salt content, as well as adding to the texture, prevents smaller ones from eating the dough.
The finger paints can be stored in bottles or jars for about a week. You can create as many colours as you like. The paint should be slightly viscose, not too runny. You may not need all of the water in the recipe. I recommend adding about two thirds of the water to begin, then to add the rest slowly and stop when it looks right.
The modelling dough needs to be dried out rather than baked. I often use a warm oven after I bake something else. If I have baked a loaf of bread for example, I pop a tray of shapes in afterwards when the oven is off but still hot. I close the door and leave the shapes there for at least two hours. You can add a little food colouring before drying them out, or you can paint the shapes when they cool down.
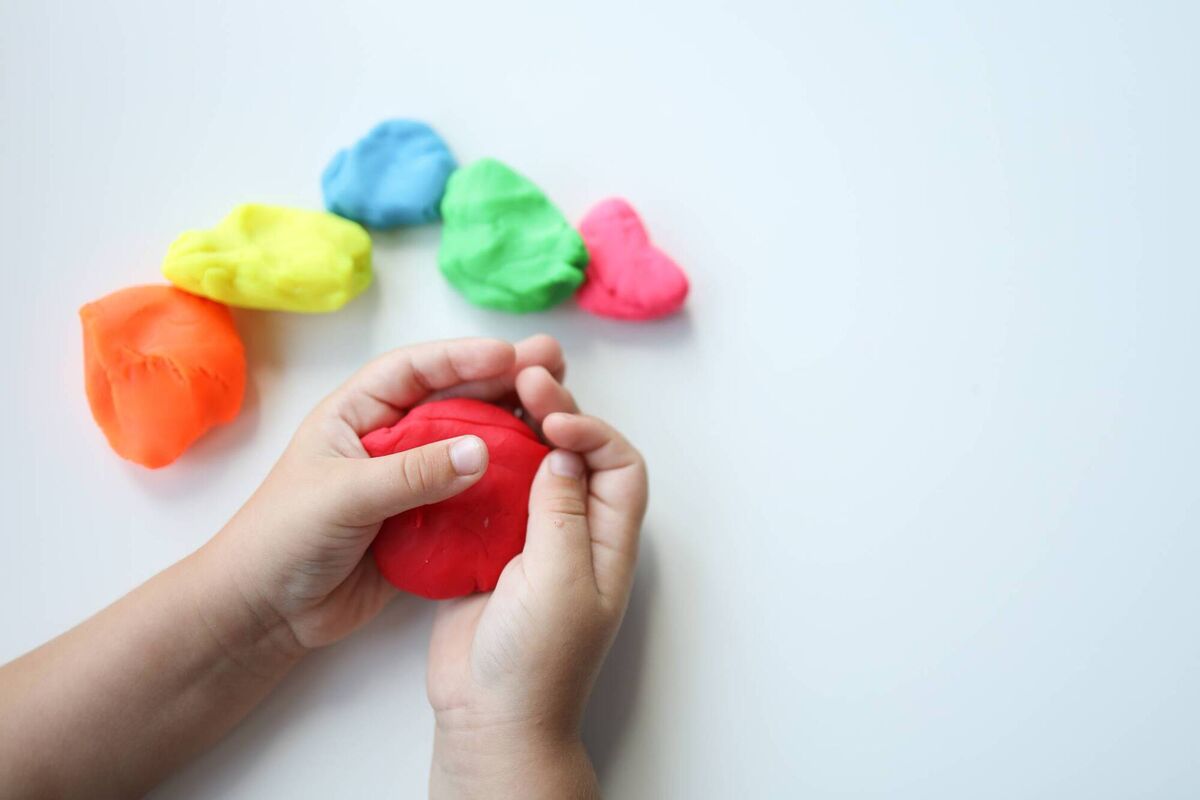
- 1 cup of flour
- 1 tbp of cream of tartar
- ½ a cup of table salt
- 1 tbsp of sunflower oil
- 1 cup of water
- 4 tsp of food colouring
Mix the dry ingredients together in a saucepan and add the wet ingredients, stirring until combined.
Place the saucepan over a low heat and stir until the mixture begins to stiffen. It should start to form big lumps. Take it off the heat and continue stirring for a few seconds then tip it out onto a lightly floured surface.
Divide it into two or four balls depending on how many colours you want. Add a different teaspoon of colouring to each quarter and knead it well.
The playdough will last a few weeks if you keep it airtight between uses.
- ½ a cup of table salt
- 1 cup of flour
- 1/3 of a cup of water
- cookie cutters
Line a large flat baking sheet tray with parchment.
Mix all of the ingredients in a bowl until they form a ball. Tip it out onto a lightly floured surface and knead it a lightly.
Roll the ball of dough with a rolling pin and cut out whatever shapes you wish. Place these onto the prepared baking tray. You can press different patterns into the dough if you like. You can also make a little hole in each shape to thread a ribbon through so you can hang them up once dried. It is fun to cut out the letters of your name or to press your hand into a square of dough and then paint it.
Leave the shapes to dry out overnight and then place them into your oven on the lowest setting for two hours. I often pop them into the cooling oven after I have been baking something else.
Once hardened you can paint them as you wish.
- 1 cup of flour
- 1 cup of salt
- 1 cup of water
- 4 half tsp of food colouring
Mix the flour and salt together and add in the water until a smooth paste forms. You may not need all of the water.
Divide the mixture up into four and add a half a teaspoon of different colour food colouring to each quarter.
Store in air-tight jars.

