Caitríona Redmond: Sustainability is at the core of a thrifty kitchen

Caitriona Redmond. Picture: Emily Quinn
There are several key things that happen in sustainable kitchens that, if you’re on a budget, you will be nodding along with because you do these already. Sustainability is at the core of every thrifty kitchen.
Firstly, you plan your meals in advance. Planning meals and snacks is proven to reduce food waste. Of course, it’s also guaranteed to save you money because you cook and eat with intention. With a budget in mind, planning takes on another layer because you actively seek out in-season produce which is better value. Sourcing local produce supports local farmers and reduces food miles.
While there is an argument that most sustainable meals contain no meat at all, being on a tight budget dictates that you don’t eat meat every day. Animal proteins are more expensive than plant-based proteins anyway. Thrifty cooks serve up regular meat-free meals.
CLIMATE & SUSTAINABILITY HUB
The cost of a family meal is normally calculated based on the ingredients used. The bigger picture is that this price can vary wildly depending on the cooking method. Sustainable kitchens consume less energy when cooking and of course, so do kitchens on a budget. I’ve adapted my cooking over the past couple of years so that I use the oven less, and slow cookers and air fryers more. This has saved me quite a bit of money from an energy perspective but also it makes my cooking more eco-friendly.
Anything we don’t eat at mealtimes I store so that we can use it another time. Once again, this is a very sustainable practice. If you’re looking for more tips on how to store your food effectively on a budget see the list below.
Each step on the journey to becoming more sustainable in the kitchen and in the home is small. When you add it all up you will realise that cumulatively it makes a difference to your pocket and consequently the planet.
You want to get the best out of the food you have in storage and make sure it lasts as long as possible. Typically the jars, boxes, and packets that you buy at the supermarket are not designed for longevity. In fact, I’d go as far as to say that they are designed to make sure that you run out of items pretty quickly.
Buying enough new storage is an expensive option – although if you can afford to stock up on plastic cereal boxes with pouring tops, kilner-style jars, and plastic lunch boxes with firm sealing lids then, by all means, do so. It will stand to you in the next number of years as you manage your store cupboards and food consumption.
- Bag clips: Sold in packets of twenty in an assortment of sizes. These are great for keeping packets clean and sealed, are extremely cheap, and are easy to pick up.
- Takeaway boxes: While it might not be very often that you get a takeaway, when you do, hold onto the plastic boxes that come with sauced meals. Give them a good scrub in soapy water before drying. They are perfect for holding two portions of dinner in the freezer or for prepared fruit and vegetables.
- Resealable butter and ice cream boxes: As above, give them a wash in soapy water. Invest in a black permanent marker to write up the contents of the boxes as they typically aren’t see-through so it makes it harder to figure out what you have packaged away without opening them!
- Milk cartons/plastic jugs: These are great for holding onto dried goods in bags, once you cut the tops off and clean the insides out well.
- Used jam jars and resealable bottles: I put the word around that I like to take these. Every now and again a family member or neighbour drops me in a few and I pay them with a filled jar in return. Jars with lids hold sauces, jams, rice, pasta, spices, etc. There is no point in paying for them if you can get jars for free. A couple of Euro will pick up over 20 jar tops for jam/preserve making that includes wax paper, pre-cut plastic toppers, and elastic bands.
- Biscuit or sweet tins that you get gifted at Christmas: These are a good way of holding a number of jars at once and are stackable. If you don’t get a gift of these tins ask around to see if people are throwing any out. They’re also great for holding jigsaws, Lego blocks, and other small toys in the living area.
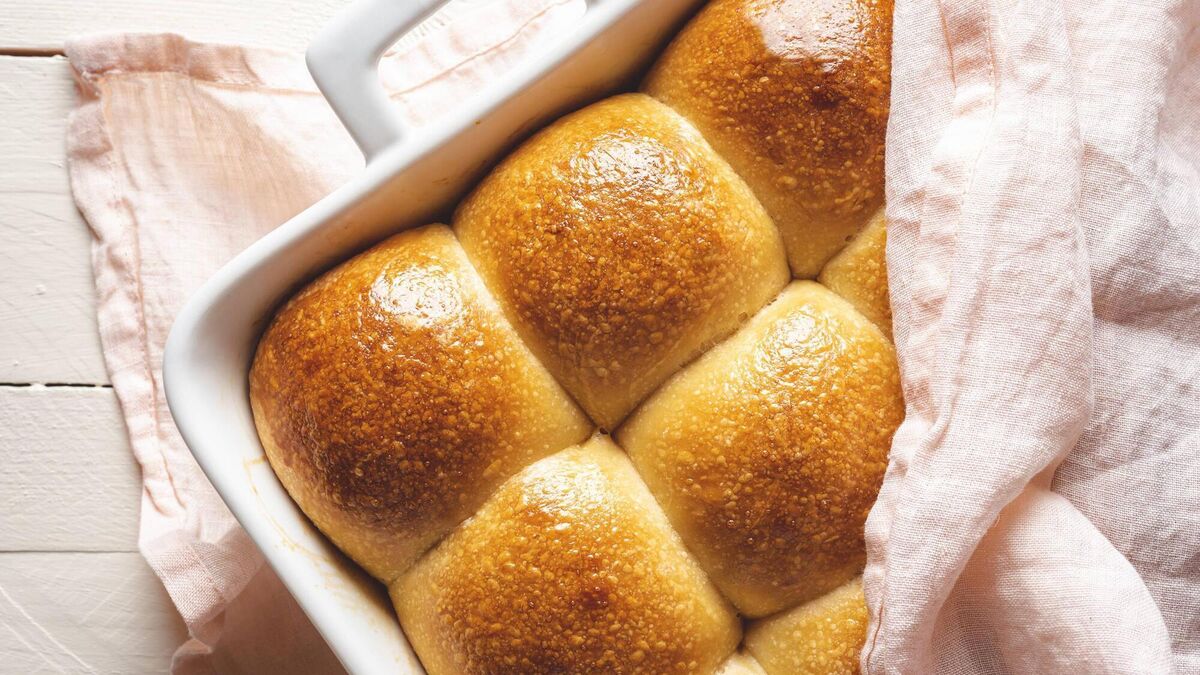
Soft White Rolls
Quick, easy and versatile - a humble staple of Irish kitchens
Servings
6Preparation Time
1 hours 50 minsCooking Time
20 minsTotal Time
2 hours 10 minsCourse
BakingIngredients
300g strong white flour (plus extra for baking stage)
1 tsp sugar
1 sachet (7g) dried yeast
25g unsalted butter, softened
150ml cold water (to start, more may be needed)
1 tsp salt
Method
In a large bowl combine the flour, sugar and yeast, then mix the butter into this mixture until you get a light breadcrumb texture.
Pour the salt into the cold water and stir until dissolved. Pour half the saline water into the dry ingredients and using your hand (or dough hook) mix, add half of the remaining water in and mix again. Slowly add the remaining water until you have a sticky dough. The dough will be fairly loose, the easiest way to explain is that it should form into a lump but be very moist. Don’t be afraid to reserve some water if you think it’s becoming too sticky or add more if it’s not sticky enough.
Dampen your hands and knead the dough for 10 minutes in the bowl, five minutes on high if you’re using a dough hook. Leave the dough in the bowl and cover tightly with cling film. Leave the dough in a warm spot for 90 minutes.
After 90 minutes, preheat a fan oven to 210°C and place a spare baking tray in the bottom. While the oven is heating knock back the dough in the bowl and separate it into six equal pieces. Dampen your hands with water and shape each into a rough round shape. Sprinkle some flour over a baking tray and put the balls of dough onto the tray sitting about 5cm apart. Sprinkle sesame seeds over the top at this stage if you want them, they’re not compulsory. Lightly dust the tops with a bit extra flour. Boil a kettle of water.
Once the oven comes up to temperature, pop the rolls into the oven. Fill the baking tray in the bottom of the oven with hot water to the 3/4 mark and close the door.
Bake for 15 minutes or until golden brown.
Remove from the oven and allow to cool before slicing and serving. These rolls will keep for up to 24 hours to be eaten as they are, a further 48 hours if you’d like to toast them. They will freeze for up to a month once cold.
Simple Vanilla Cupcakes
Birthday parties, afternoon tea... or just whenever you feel like - the perfect, crumbly dose of nostalgia!

Servings
12Preparation Time
20 minsCooking Time
14 minsTotal Time
34 minsCourse
BakingIngredients
175g plain flour
100g caster sugar
50g malted milk powder
1 tsp baking powder
75g butter, melted
2 medium eggs
130ml milk
1 tsp vanilla extract
Method
Preheat a fan oven to 180°C and put liners into a cupcake tray/tin.
Put the dry ingredients (flour, sugar, malted milk powder and baking powder) into a large bowl and stir.
Put all the wet ingredients (butter, eggs, milk and vanilla extract) into a large jug and stir well so that they are mixed together.
Pour the wet ingredients into the dry ingredients and beat until there are no lumps. Divide the mixture between the cupcake cases, making sure to fill only to the 3/4 mark as otherwise they will spill over.
Bake in the preheated oven for approximately 20 minutes. The malted milk powder will make them turn quite golden on top and crunchy. Test the centre with a cocktail stick after 20 minutes. If the stick comes out clean then they are baked. Otherwise bake for a further five minutes.
Frost with a whipped combination of 100g softened butter, 300g royal icing and a teaspoon of vanilla extract.