The Anker eufyMake E1 UV printer review: Revolutionising makerspace with professional, high-fidelity printing
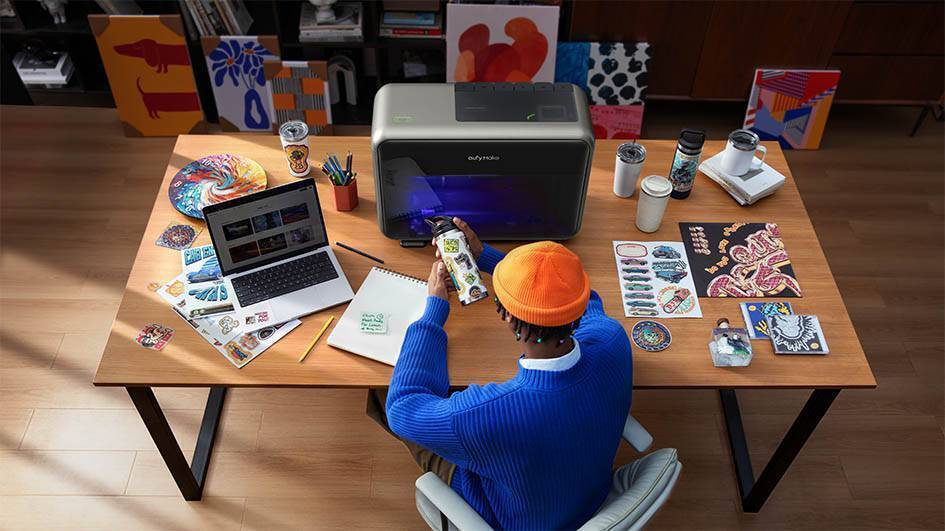
The Anker eufyMake E1 bridges the gap between industrial technology and domestic creativity, allowing makers to transform almost any surface, from glass to stone, into a professional masterpiece. Picture: Anker
UV printing has been an industry standard for years, but it has taken until recently for the technology to trickle down to a point where it’s affordable for the domestic market. Instead of drying on the surface like traditional inkjet printing, UV ink is cured by ultraviolet light, which hardens it instantly. This lets you print directly onto an enormous range of materials, including glass, metal, stone, and fabric. The benefits are incredible colour vibrancy, high colour accuracy, and a really professional, durable finish that standard inks simply cannot match. Over a year ago, the Anker eufyMake E1 entered the market, offering these high-level capabilities in a compact, user-friendly package and making advanced printing accessible to the average user.
The eufyMake E1 doesn't have a screen to show print progress or detailed ink levels. Instead, it has a large Start button on top and no other physical controls. This system relies on a remote workflow through the app. You have to send the file from your computer or smartphone, then walk over to the printer to make sure everything is aligned and set before pressing the Start button. I think this is useful at the start when you’re getting used to the E1, as a necessary check, as it forces the user to engage with the machine at every step. However, once you get more familiar with the workflow, I found it quicker and more convenient to simply press Print directly in the Anker Make Studio software.
Setting up the E1 is really easy. The inks come in large, 100ml hard plastic cartridges that simply plug into the six compartments at the back of the printer. These contain slots for cyan, magenta, yellow, black, white and gloss inks. The white ink serves as a base layer because the other colours are translucent. The gloss is for finishing, and there’s a much larger cleaning/maintenance cartridge installed on the side.
The printer features two different bed sizes, and which you use depends on what you’re printing. The mini bed is long and narrow and perfect for smaller pieces, and I liked that the UV light-filtering doors on the front and back can stay closed during printing. The smaller bed is also much quicker for taking snapshots of the objects on the bed. The larger bed is best when you need to fit more objects or a single, larger item. However, the larger bed requires the front and back doors to stay open during printing, so you need plenty of space in front of and behind the E1 for the bed to extend out.
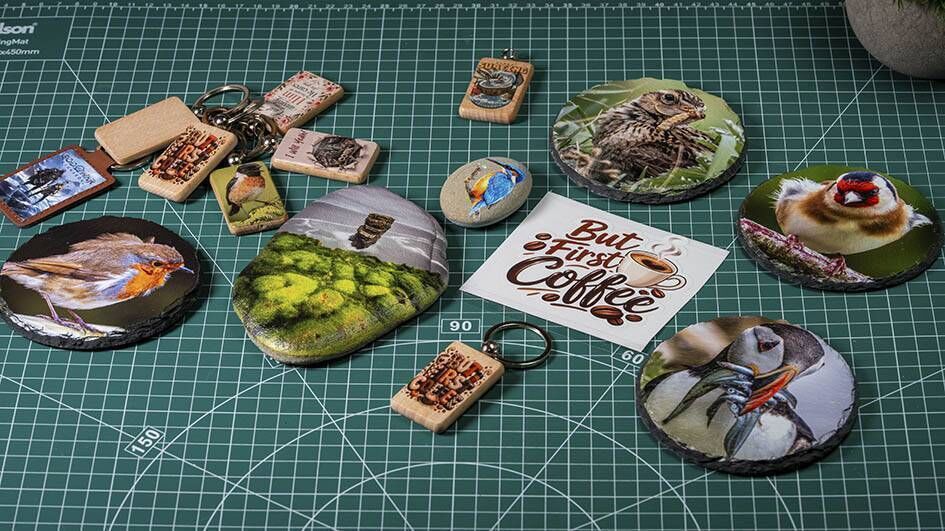
The level of freedom the E1 gives you is honestly hard to wrap your head around. I have spent the last few weeks testing the limits of the E1, and the list of things it can print on is endless. I printed on everything from wood to metal, glass, and even leather. I tried textured tumblers and phone cases, and I even gathered smooth, flatish stones from the beach to see how they would look.
What really blew me away was the colour accuracy. I take my photography seriously and have high-end photo printers and use professional colour management tools, including a Datacolor Spyder X to calibrate my monitors, to ensure what I see on the screen (the WYSIWYG) is what I get on the paper. This is tedious, and the results can be frustratingly inconsistent.
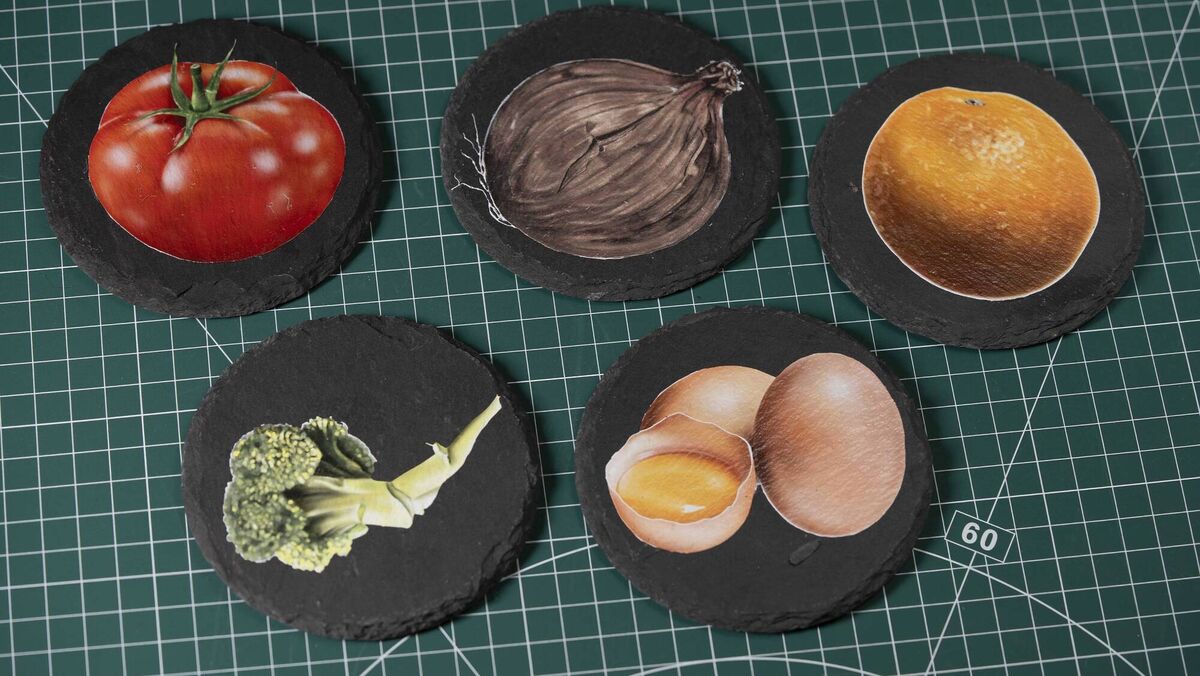
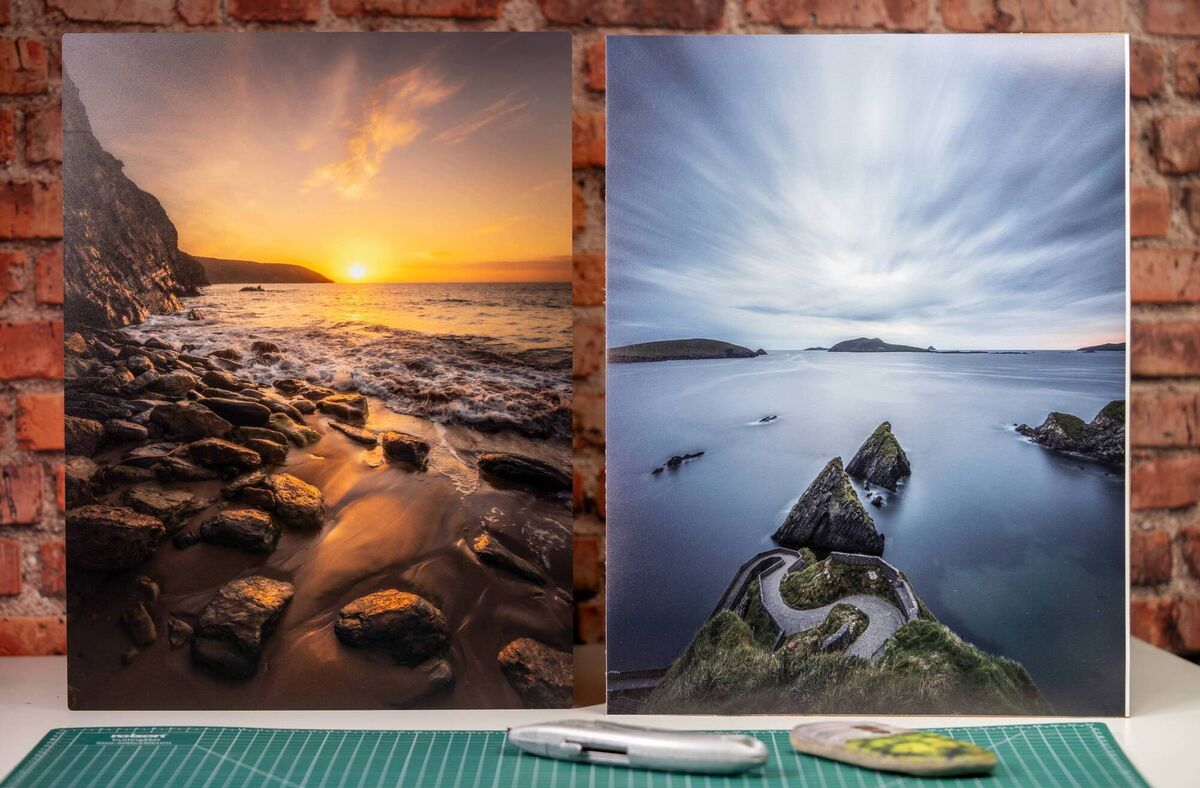
Of course, a good colour-calibrated display will always help, but with the E1, I didn't have to mess around with any complex calibration. Whether I was printing a high-contrast image on black slate, a delicate design on film, or a landscape on canvas, the colours matched exactly what I saw on my screen. The vibrancy is punchy, and the way the ink sits on different textures is incredibly impressive.
Along with the print, Anker also sent me a few E1 accessories, which further expand the list of possibilities. First up is the Rotary Tool, which is designed for printing on cylindrical objects like mugs, cups, or tumblers. It works amazingly well for creating custom drinkware. However, it does have some limitations. If your cup has a handle and it’s too close to the top lip, it can interfere with the rotation. I had some success with a couple of cups, but most handled mugs are a struggle. Also, you have to account for the fact that the printer needs to print on the opposite side to the handle, which wouldn’t be my preferred placement for a design. For the best results, I found that tumblers with no handles and a slightly textured finish are the absolute ideal substrates for direct printing using the rotary tool.
A great workaround is to print your design onto the eufyMake UV DTF A film (direct-to-film). Then transfer this onto the eufyMake UV DTF B film, by laminating it with the eufyMake UV DTF laminator. Now you’re ready to transfer your printed design onto almost any surface. Essentially, it’s like creating your own custom stickers.
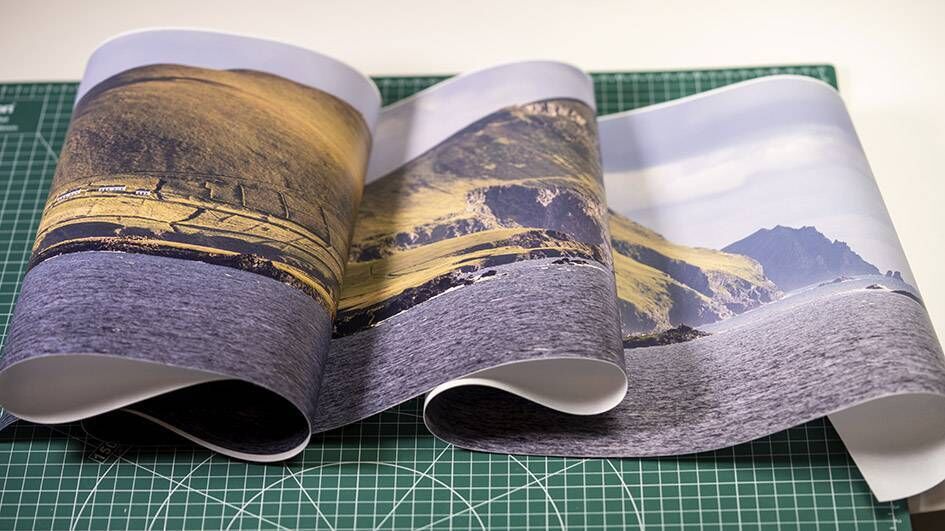
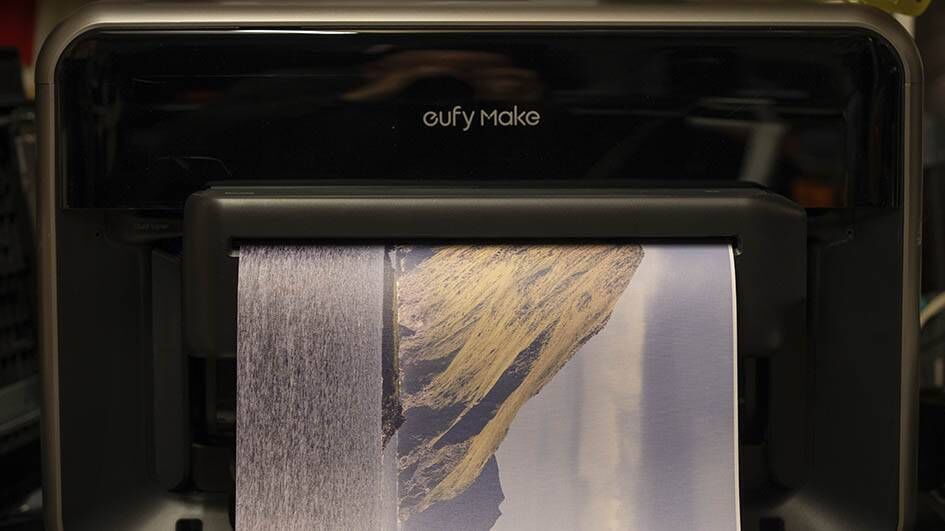
Then there is the Roll-to-Film attachment, which I really loved using. This allows for up to 10 metres of continuous, nonstop batch printing. It is perfect if you want to print long strips of decals or large amounts of stickers. It features an automated cross-cutting function, so you get a clean, straight cut between every job without manual trimming.
It supports widths up to 305 mm and lets you use various special rolls, including durable polymeric vinyl, rainbow maker decals that glow in sunlight, and luminous vinyl that glows in the dark. For a truly premium look, use ultra-clear UV vinyl for window decals.
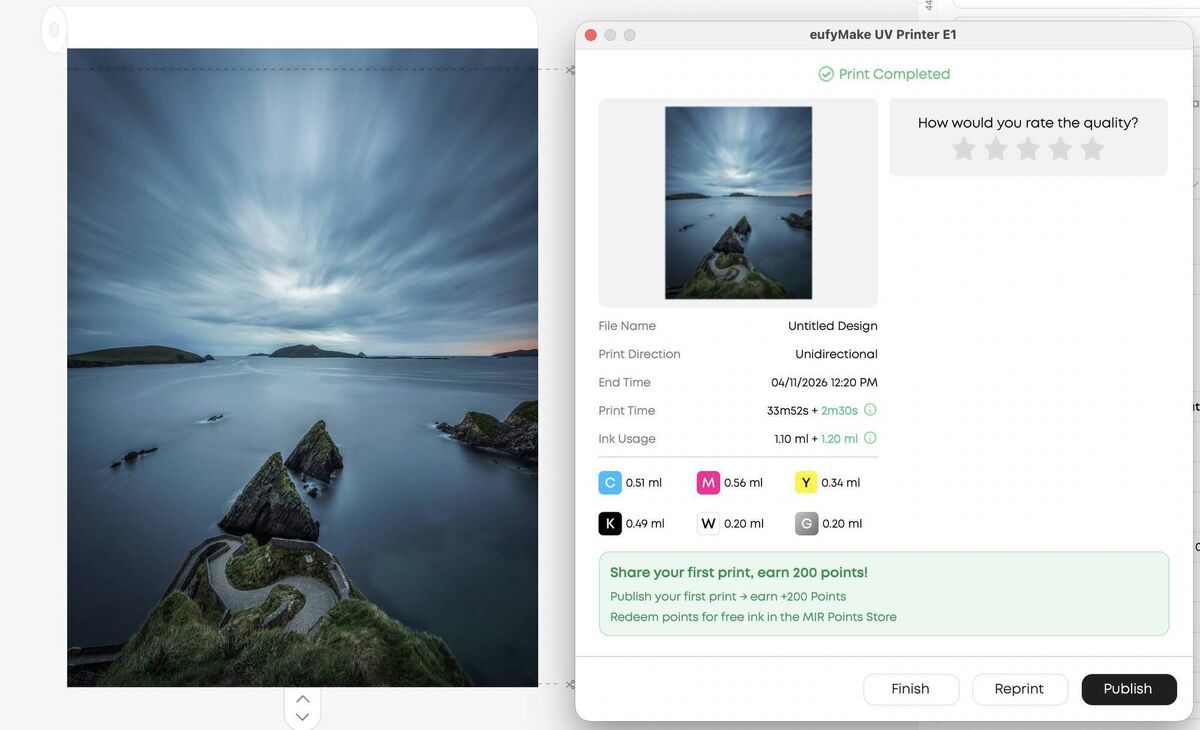
One essential change you have to make when using the roll-to-film accessory is to use flexible white Ink, because standard white ink can cause flexible materials to shrink or flake. Flexible white ink is recommended for anything that flexes. I used it on canvas and leather keyrings. However, when I used the canvas roll to print my panoramic shot of the Blaskets, it only used 0.20 ml of white because the canvas is already white. In theory, you could use flexible white instead of standard white, but it’s less opaque, so you need more layers to get the same effect.
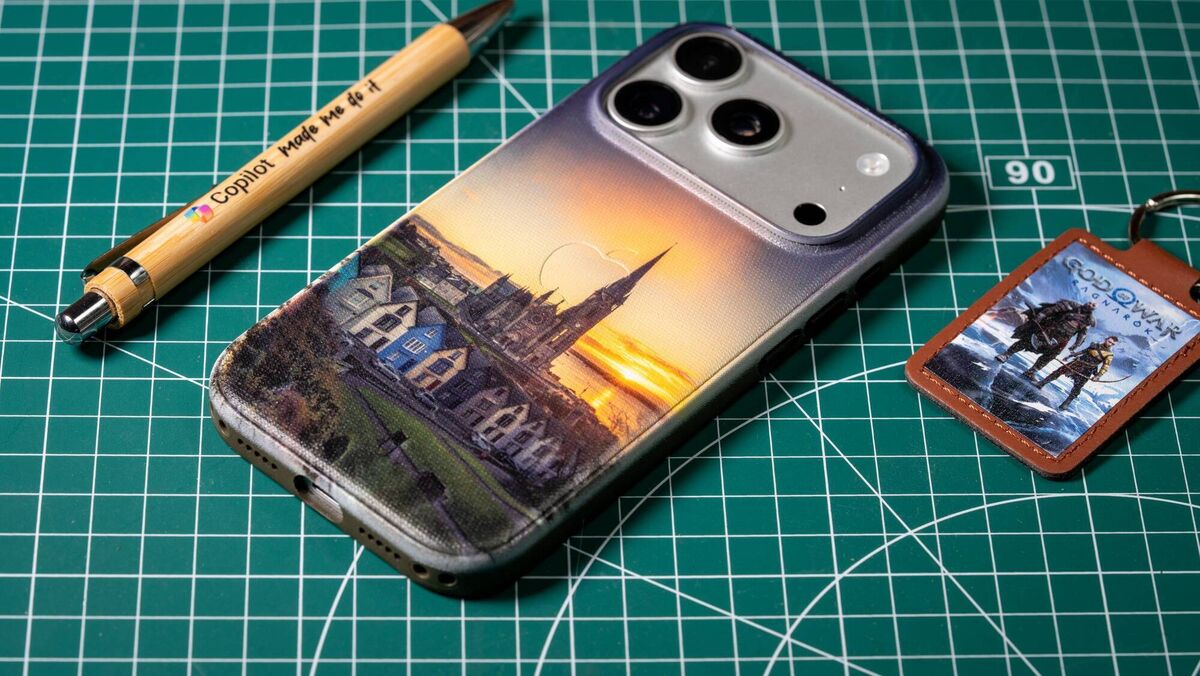
The E1 is a tool for small makers who want to produce things people actually want to buy, not just for occasional use. The E1 lets you turn so many ideas into reality that the only real limitation is your creativity. I have used it to turn second-hand placemats into beautiful, personalised keepsakes by printing my favourite photos directly onto them.
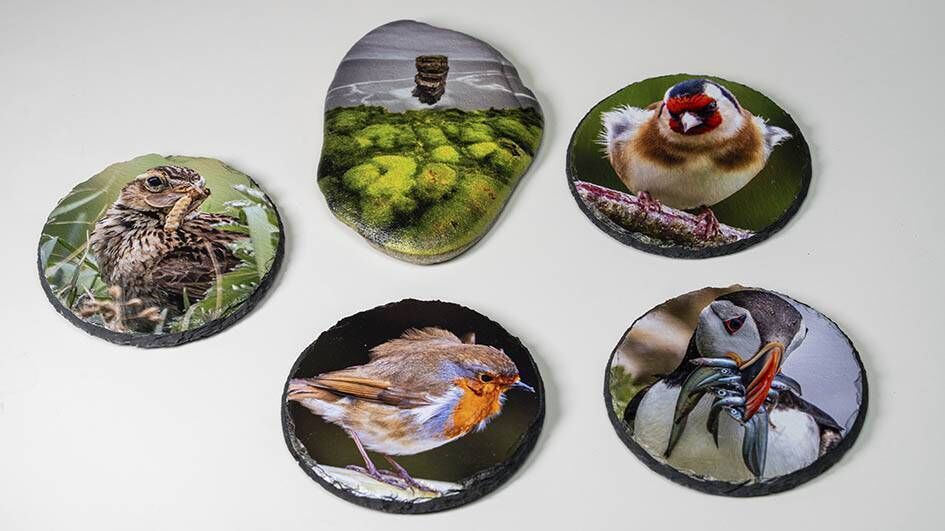
One of my favourite surfaces to print on has been pre-primed metal plates. The results were spectacular, with colours that looked incredibly accurate and super sharp details. I also found that printing on flat beach stones was a fantastic way to create truly unique, one-of-a-kind gift pieces. The ability to add raised texture up to 5mm means you can make a print feel like an actual object, not just a flat image. This will use a lot of white ink, depending on how large the piece is, but it’s one of the E1’s unique selling points.
The roll-to-file accessory has been my favourite feature, although I’ve only had a week to play with it so far. I have a 195MP panoramic photo of the Blaskets I took from the Slea Head Drive in Dingle that I’ve always wanted to get printed. It’s a high-resolution photo merged from nice shots with incredible detail that needs to be printed large to fully appreciate it, and the E1 roll-to-film with the canvas roll did it justice. I did have to reduce the resolution from 6175 × 8368px to 12800 × 2406px for it to work with the software, but the final print is stunning, even if I do say so myself.
The Anker eufyMake E1 is a fantastic printer that really expands what a maker can achieve. The versatility is unmatched, the print quality is professional-grade, and the software and maintenance during my testing were a breeze.
You do need to watch running costs, as the machine requires regular maintenance and ink replacements to stay healthy. However, I found that the E1 is much more economical than my Canon photo printer. While some high-end photo inks can cost well over €1 per ml, the E1 inks are much more affordable at around €0.3 per ml. I found that I used white ink the most, but you can save money by priming your surfaces with white first if you are printing on darker boards.
If you want to turn your digital art into physical, textured, durable products, the Anker eufyMake E1 is a brilliant investment.

CONNECT WITH US TODAY



Be the first to know the latest news and updates