How to keep your furniture pristine and polished
Look out for any lifted veneer, marquetry, parquetry or boulle work (inlay) that can get caught and lift.
I believed my grandmother had arrived on Earth, muscling a damp rag in her hands. Polishing is something of a lost art, and yet it remains the central housekeeping challenge, especially once the fires get lit and start belching out smoke, and the Christmas dust has settled.
The furniture and second-fix carpentry in your house could be taken from a wide range of eras. These surfaces will be in a complex mix of finishes. Some will be lacquered or painted, other pieces will be under a tough modern varnish, others will not be actual wood at all, but emblazoned with a picture of wood. Old furniture presents more of a challenge and there are some considerations to make before broadcast sprays of a general furniture cleaner hits shellac, wax or old French Polish. After half a century or more of use, and cleaning — the tops of tables, sideboards and other old dears, are cloaked in multiple mystery substances.
Most, standard aerosol polishes contain solvents and a silicone. Built up on any surface these form a tacky greenish scum that ingests dusts. With old finishes, this degraded into a foggy disaster changing its appearance and dissolving earlier treatments. For diamond-hard furniture finishes (on most of our newer furniture), a damp dust is ample, and most modern furniture does not need its timber “fed” as its grain is impenetrably sealed. For a bit of bling, wipe down the pieces and use a chamois with a silicon-free furniture cream in a small amount. Don’t go mad as it’s just going to sit up on the timber or laminate, under that tough final coat it arrived in.

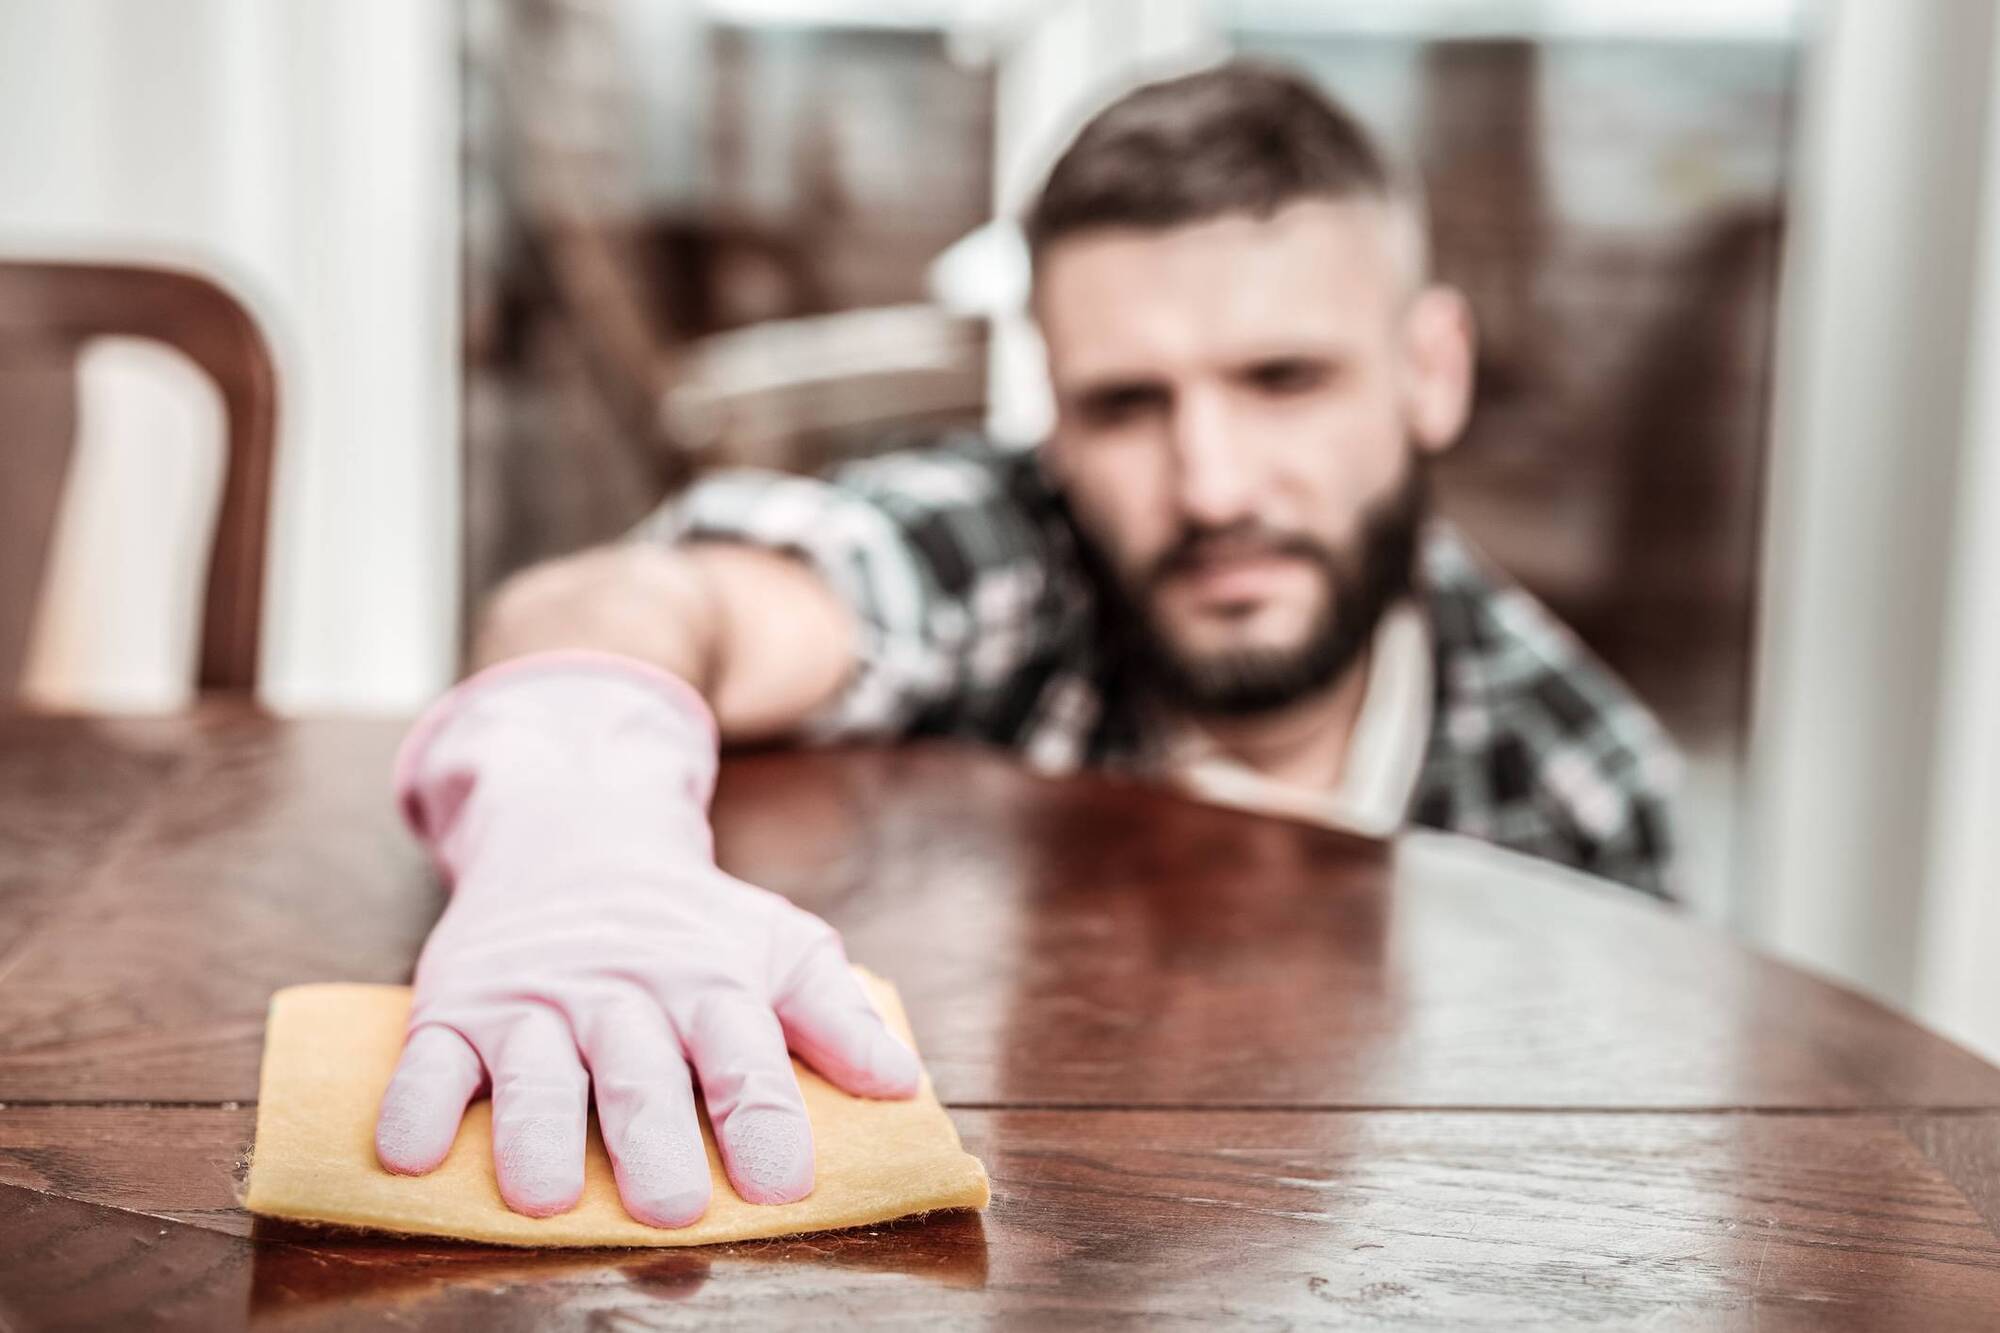
Start all fine furniture dusting with a soft, dry cloth and not just something leery dug from under the sink that could be polluted with chemistry and grime. The first must-have for any cleaning arsenal is a few dusters in pure cotton or an ultra-fine microfiber synthetic. Look for a hemmed edge to prevent the cloths snagging on detail. A dirty rag with ragged edges can be abrasive enough to damage the surface of fine woods and veneers. A dry clean cloth is safe for chrome, silver, marble, and all wood finishes — so regularly dry dusting is really all you need. Using a micro-fibre wand like the OXO Good Grip (from €12 multiple suppliers), will attract and hold dust effectively without the tack of sprays into delicate areas.
Like all dusting, whether doing walls or a chest of drawers — start from the top down, as the dust will float off that way. Working with the windows and doors ajar, make short wipes and blots, lifting rather than swatting the dust. This avoids making dust airborne, where it will not only spread but settle back on everything else. Fold and turn the duster repeatedly to give yourself a clean side. Shake it outside the door after each piece of furniture is finished or start with a clean cloth.
Look out for any lifted veneer, marquetry, parquetry or boulle work (inlay) that can get caught and lift. Awkward corners, turning and carving can be swept out with the flick of a soft pastry or toothbrush. If you want to use the vacuum cleaner attachment, turn down the power. Never make actual contact with any hard part of the machine.
In centuries past, cold tea, beer, or vinegar combined with water (a dash only of the vinegar) were commonly used for cleaning and adding lustre to dusted mahogany and oak from a planked floor up. Plain (non-lye) soap and water were favoured for bare pine. This is a move up to a damp dust, not a rude slosh. We never, ever want to get the wood wet, especially in areas like vulnerable joints and shattering veneers. Have a completely dry cotton cloth on hand to wipe off any moisture that doesn’t evaporate in a minute or two. Whisk the liquid up, dab the cloth into the froth to avoid soaking your target area.
For cleaning really grubby wood, linseed oil (sometimes diluted with mineral spirit to help it absorb into the grain) is an old favourite. For beginners, stick to a proprietary brightening agent as these DIY solutions can be risky in the wrong hands - dulling, clouding or breaking down old lacquer or shellac. Celtic Woodcare Restorative Polish — 500ml is €20 a bottle can gently clean most antique timber (read the instructions before starting and pick a discreet test area). If you are using an appropriate silicone-free spray for antique timber – spray it on the cloth rather than over the furniture – use as little as possible. Bald or sealed mid-century teak is exceptionally oily. Danish Oil and Teak Oil are oil-rich sealants, not cleaners, so except for restoring bald teak, they will just sit up and wave at you.
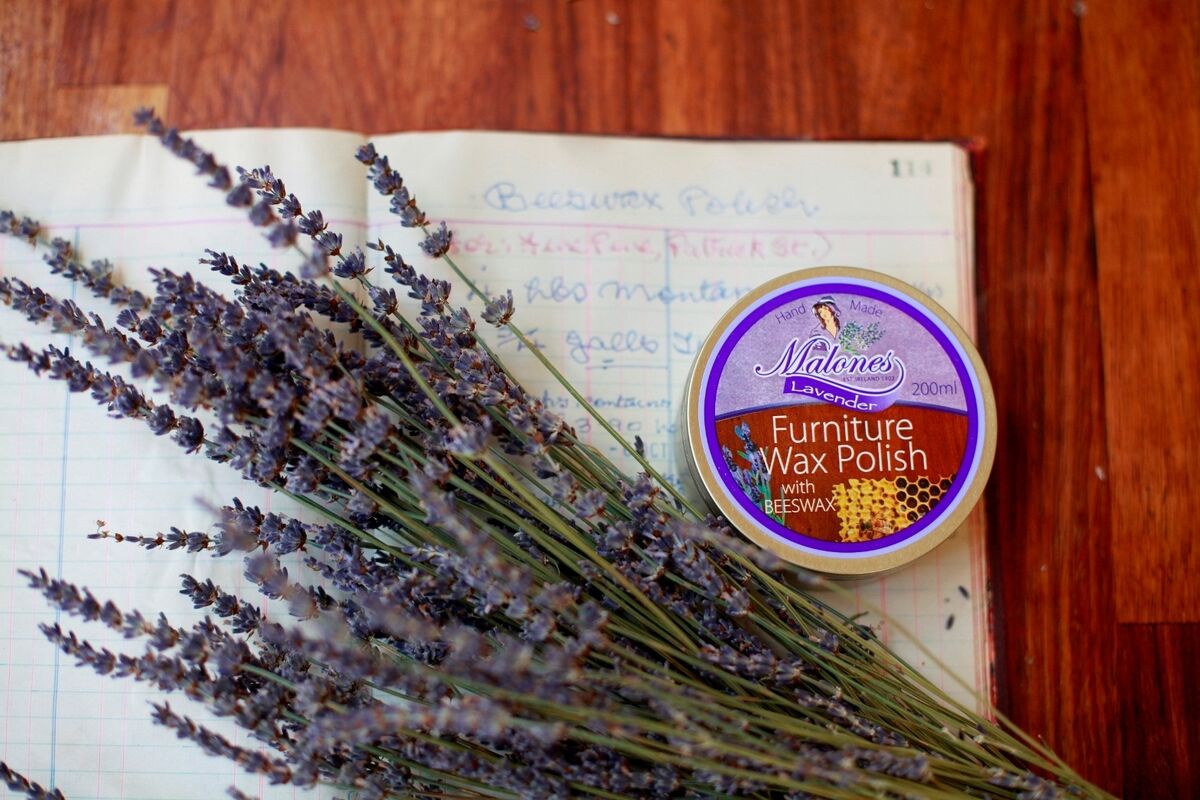
FOR wood furniture you can see is waxed, try a coat of good antique wax with a beeswax base. Waxing is something most people enjoy, as the scent (I’m a big fan of Malone’s here for their Lavender Polish, €7.99 a tin) is delightfully mindful. Dry dust first — don’t go in with the wax onto an already grimy top or you will just atrophy the dust into the finish. The intention is to lift the embedded dust and beautify the piece. Apply the wax sparingly — we’re trying to melt and bond the new wax into the old. The classic steps is in small circular motions for the first coat, followed by long strokes to catch the wax in the grain. Leave for an hour and buff until your eyeballs bulge. We’re looking for a low glow. Too much product and there will be tack when you put your forearms down on the piece — do your best to remove it.
If your furniture is finished in French Polish or any glittering shine, don’t smear wax or oil onto the surface. Like varnish and lacquer, this is a hard finish that will not absorb applied waxes and oils into its fibres. Except for very small applications, wax will sit up. Using a tiny amount of clear or colour matched beeswax polish, you can fill small dings and scratches, polishing off the residue. Solid wax can be used to fill in deeper scratches on French Polish. Look out for boxes of wax shellac style ‘crayons’ in different colours, all very handy stand-bys even on plank flooring. Otherwise, hard finishes have to be cut back and reapplied to repair and brighten them, so just keep them clean. Dry dust and swiftly damp dust if you must before just polishing it down with a clean dry cloth.
If you have chrome elements that are not coming up to a shine (on a mid-century saddle chair for instance) — try a half-and-half solution of olive oil to white vinegar to restore shine. This solution also works well as a leather cleaner for most modern and vintage pieces. Dust off any leather seating before applying any polish, conditioner or leather cream — don’t touch suede or any raw leather finish like nubuck. Try any product or mixture on an inconspicuous area and apply to the cloth not the furniture to limit the amount used. Ensure any commercial product is intended for seating or you’ll end up with a peachy imprint on your backside.

Cancel anytime
CONNECT WITH US TODAY
Be the first to know the latest news and updates